VariPOS Documentation
Read module-by-module like an operations story. Every scene tells what to do, what to check, and what outcome to expect.
Read module-by-module like an operations story. Every scene tells what to do, what to check, and what outcome to expect.
Safety chapter: backups are taken so your business can recover from device issues.
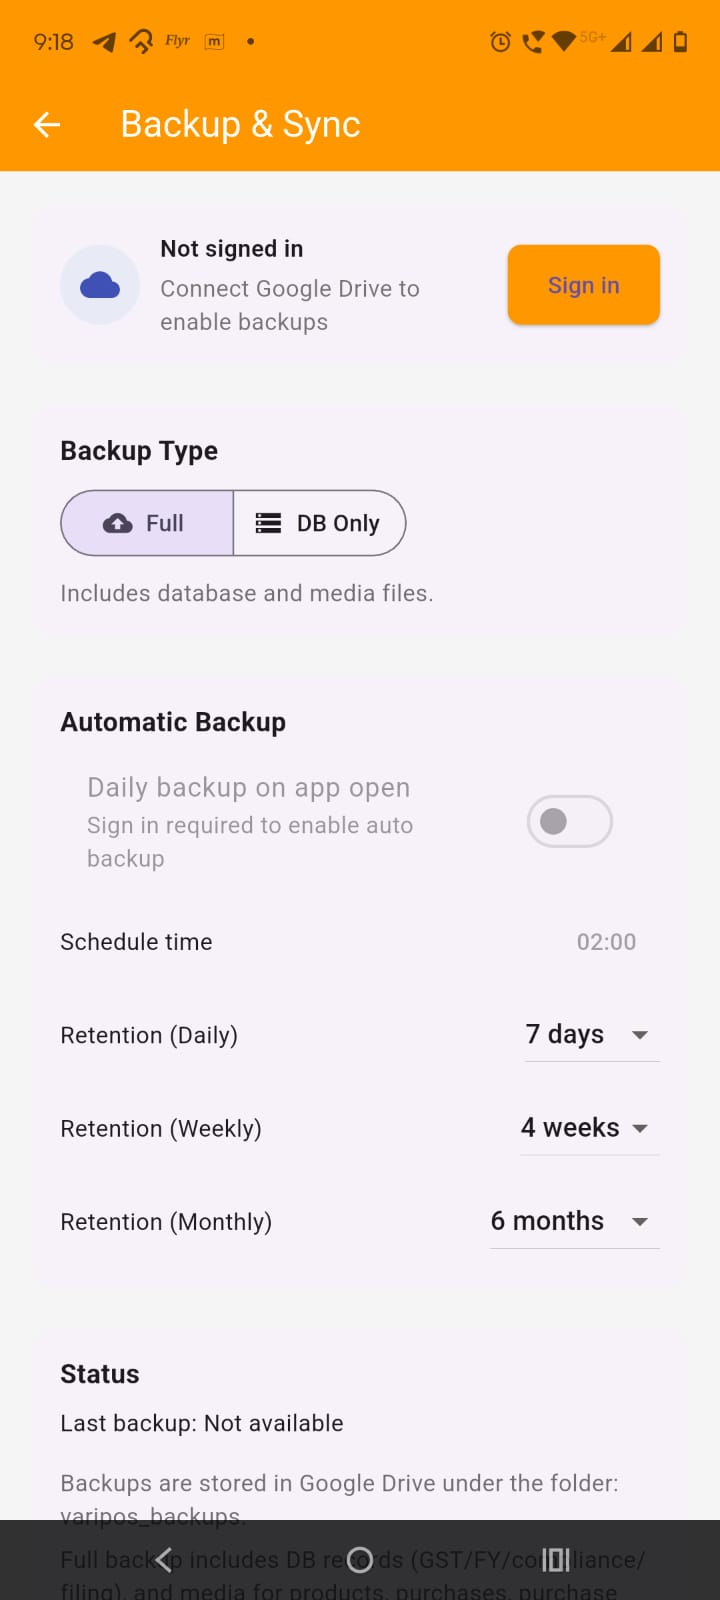
Open Settings from dashboard and tap Backup to Google Drive or Tap Backup menu item in menu bar under Settings heading . The screen title is Backup & Sync.

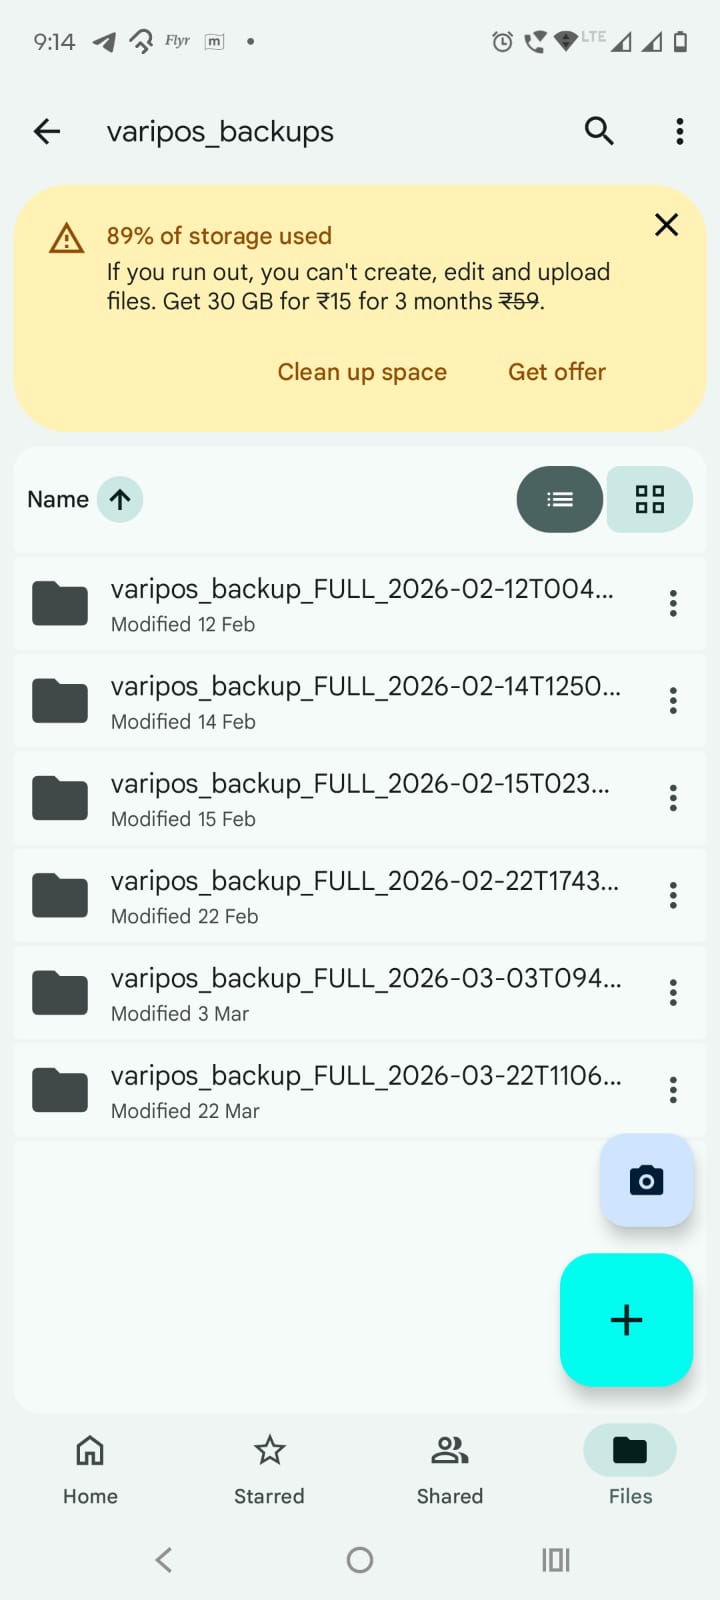
Understand where backups are stored: Backups are stored in your Google Drive under the folder: varipos_backups
Understand the sign-in requirement: Backup works only when you are signed in with Google. The screen shows:
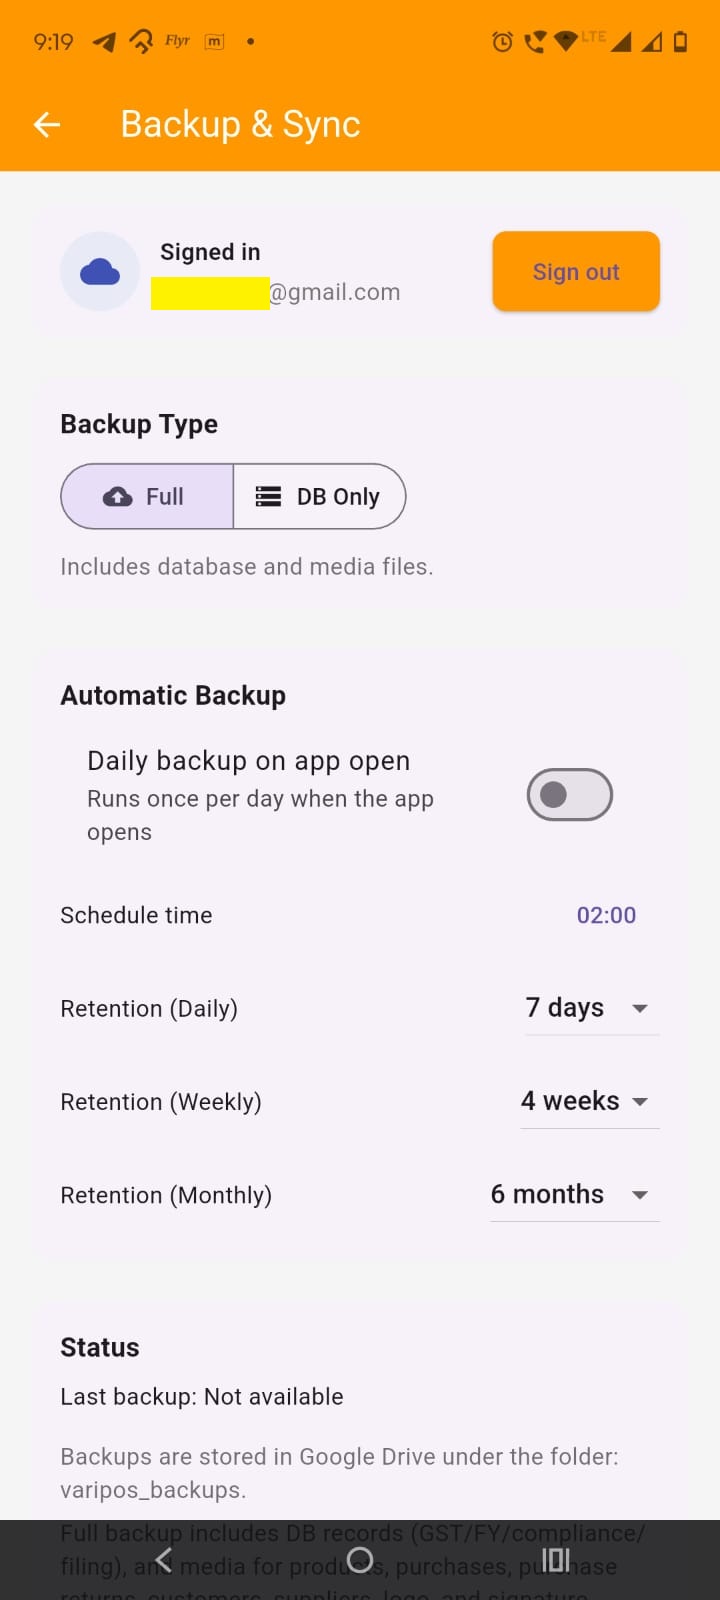
Understand what the app backs up: The app supports two backup types:
In the Backup Type section, choose one of the two segmented options.

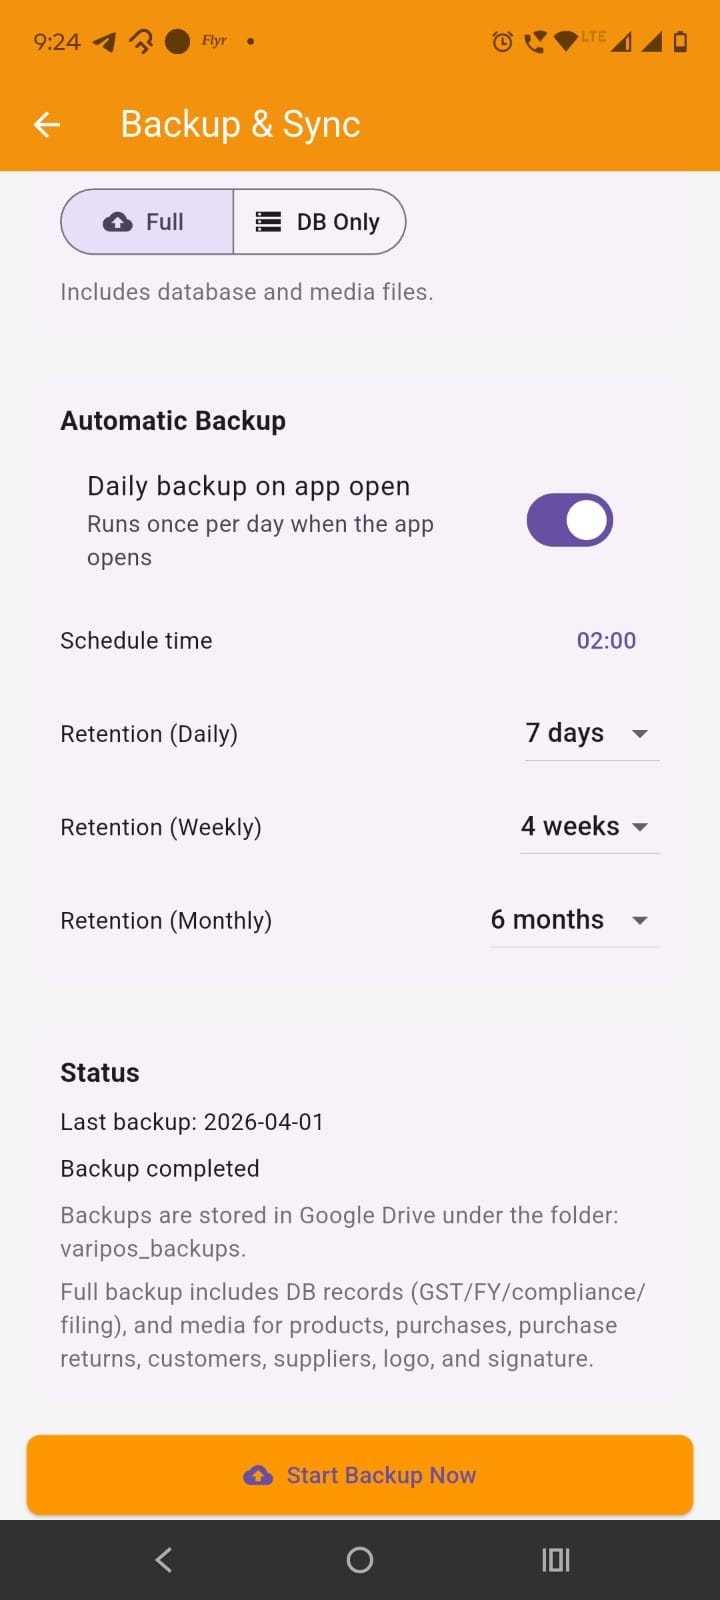
Choose Full backup: Full backup includes:
Choose DB Only backup: DB Only backup includes only the database records. It does not include media files.
Pick the type before starting backup: The selected type is the one used when you tap Start Backup Now.
Sign in first
If Google account is not connected, sign in first. The backup button stays disabled until sign-in is available.
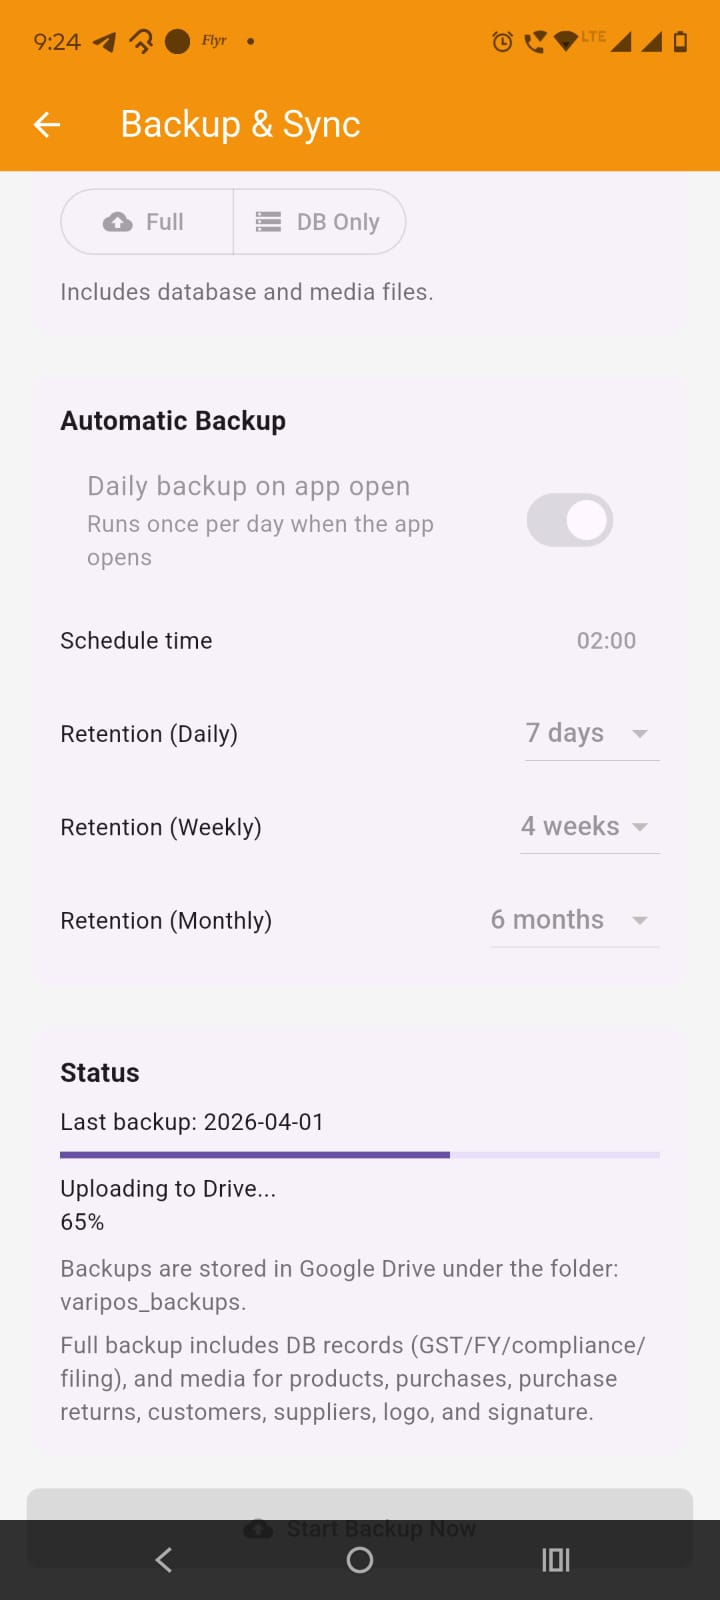
Tap Start Backup Now: Tap the Start Backup Now button.
Watch the progress: During backup, the screen shows progress messages such as:
Read the result: After backup completes, the screen shows:
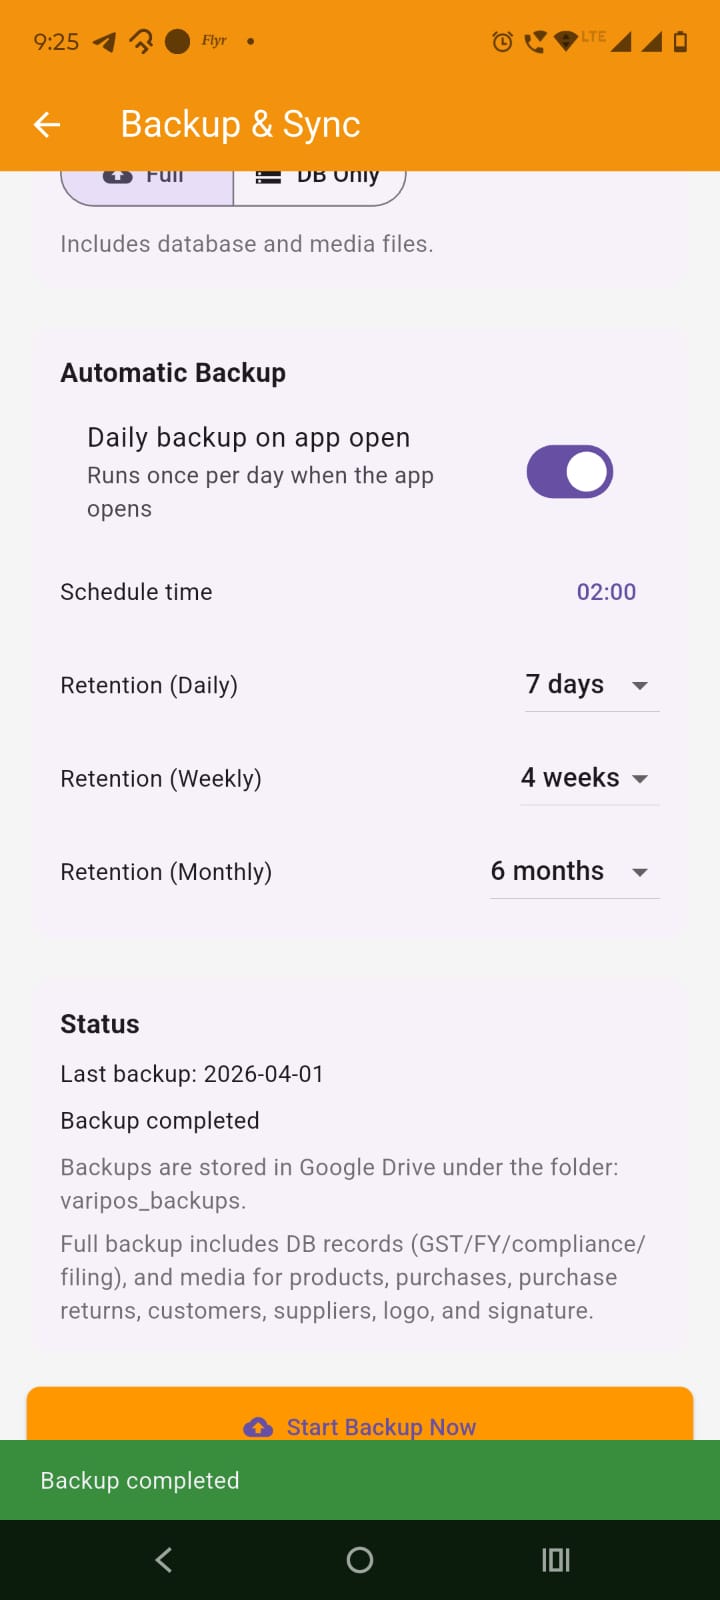
Check Last Backup: In the Status card, the app shows the last backup date after successful completion.
In the Automatic Backup card, use the switch for: Daily backup on app open

Understand how automatic backup works: When enabled, the app runs automatic backup:
Set schedule time: Tap the schedule time button and choose the desired time.
Set retention rules: You can set retention values for:
Know what retention does: After a successful backup, the app prunes older Drive backup folders based on the selected retention rules.
Open Settings from the dashboard and tap Restore from the Google Drive or Simple tap the Restore menu item under settings. The screen title is Restore Backup.
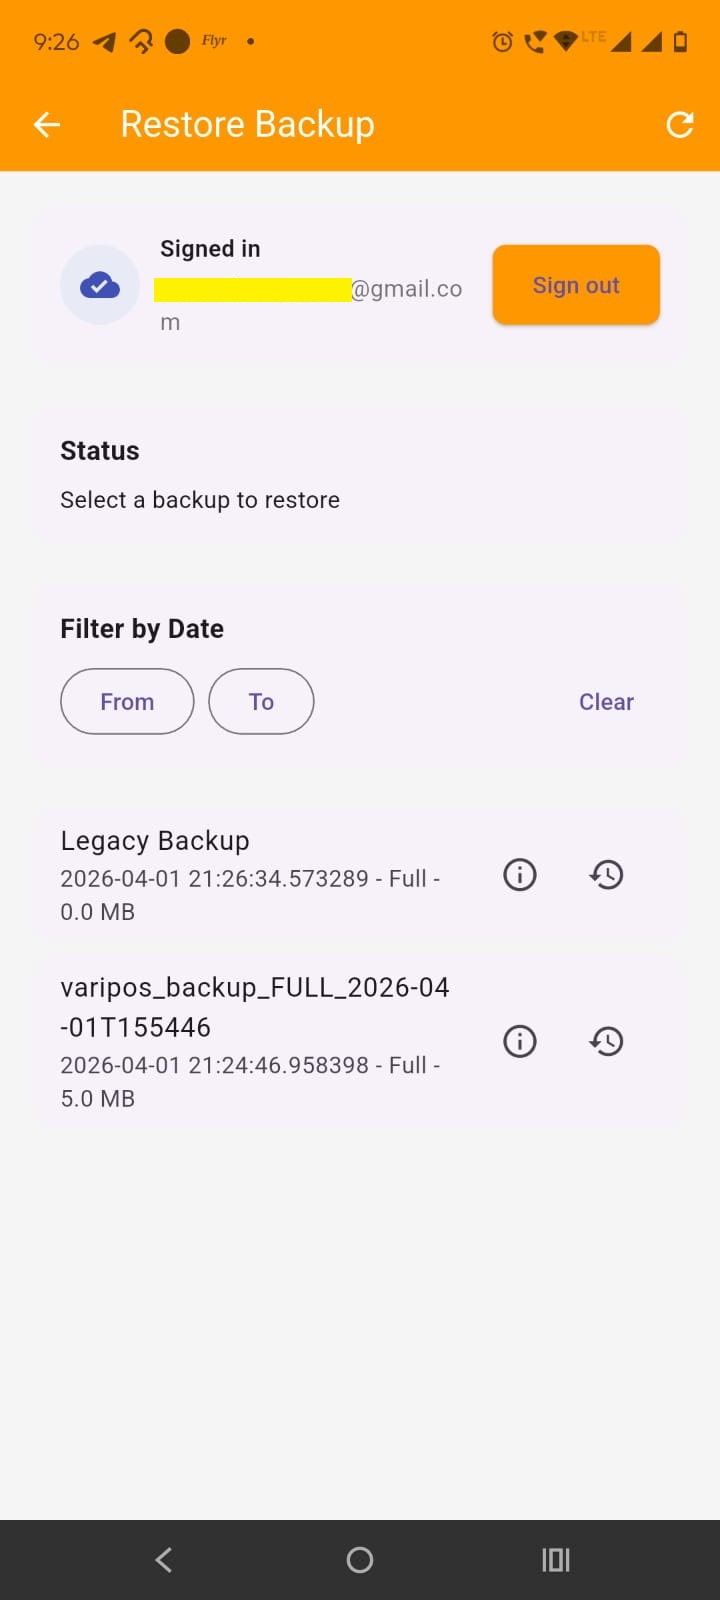
Sign in first: You must be signed in to list Google Drive backups.
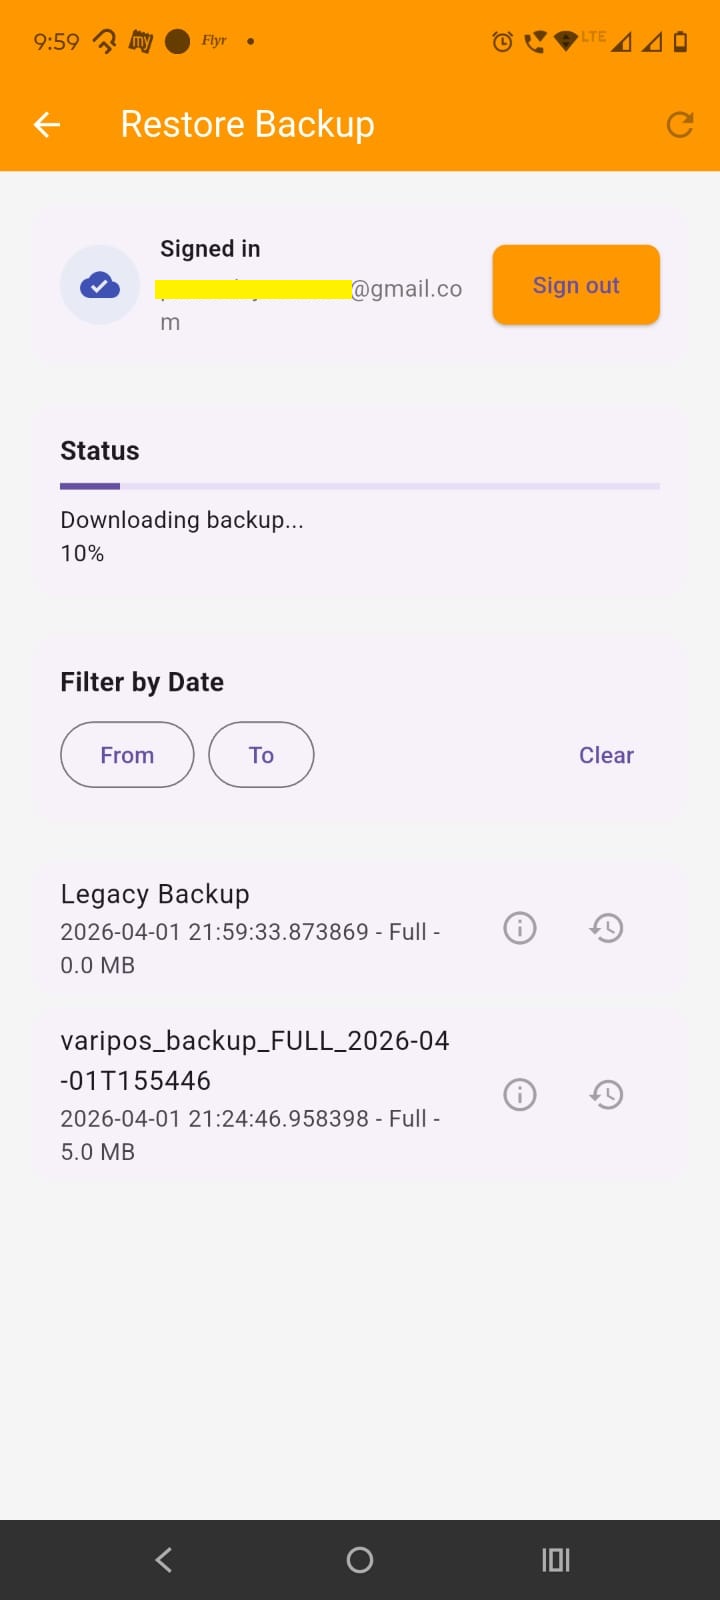
Review the status card; The restore screen shows a Status card. During restore it displays:
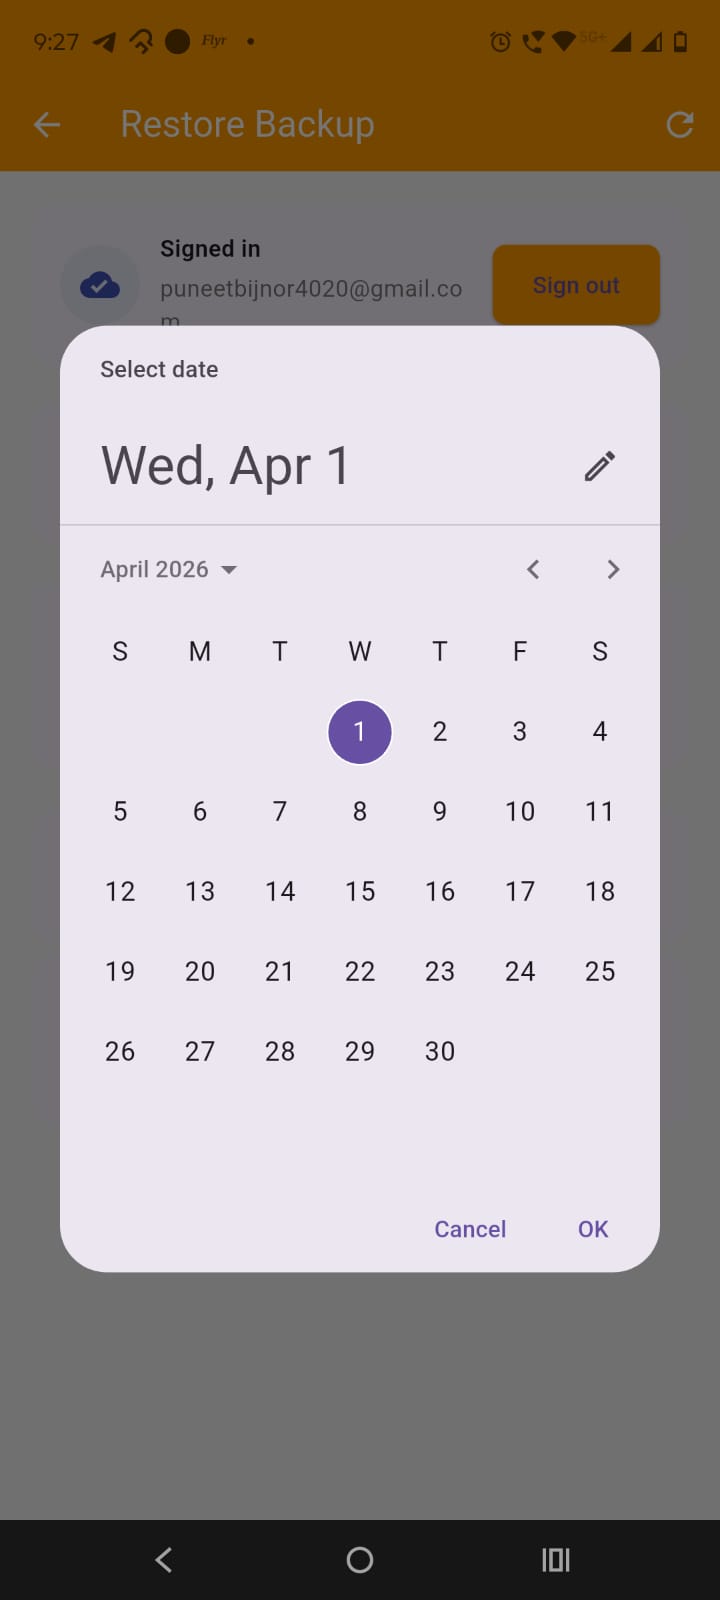
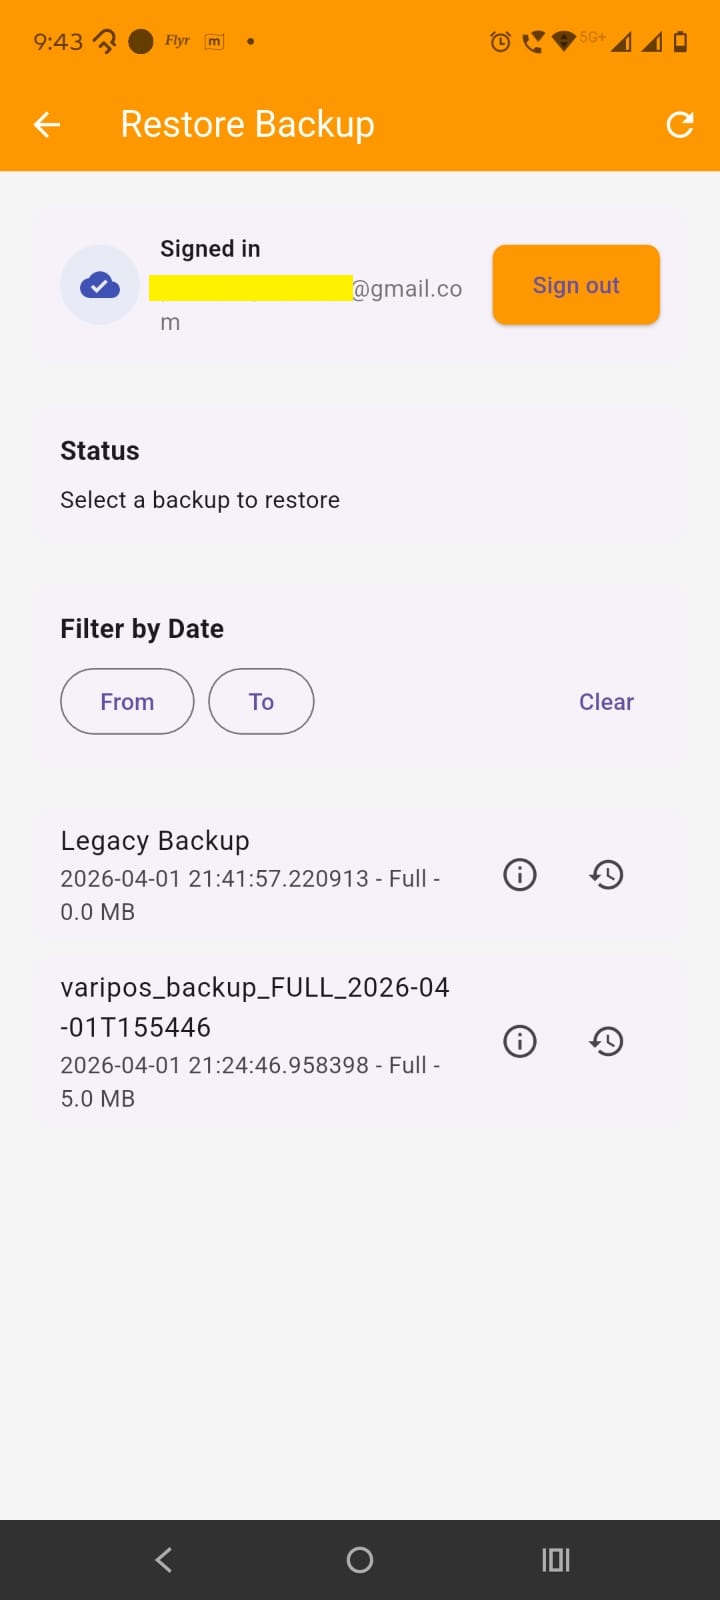
Use date filter if needed: The screen provides From, To, and Clear options in the Filter by Date section. This helps you narrow the list of available backups.
The restore screen lists backups from Google Drive
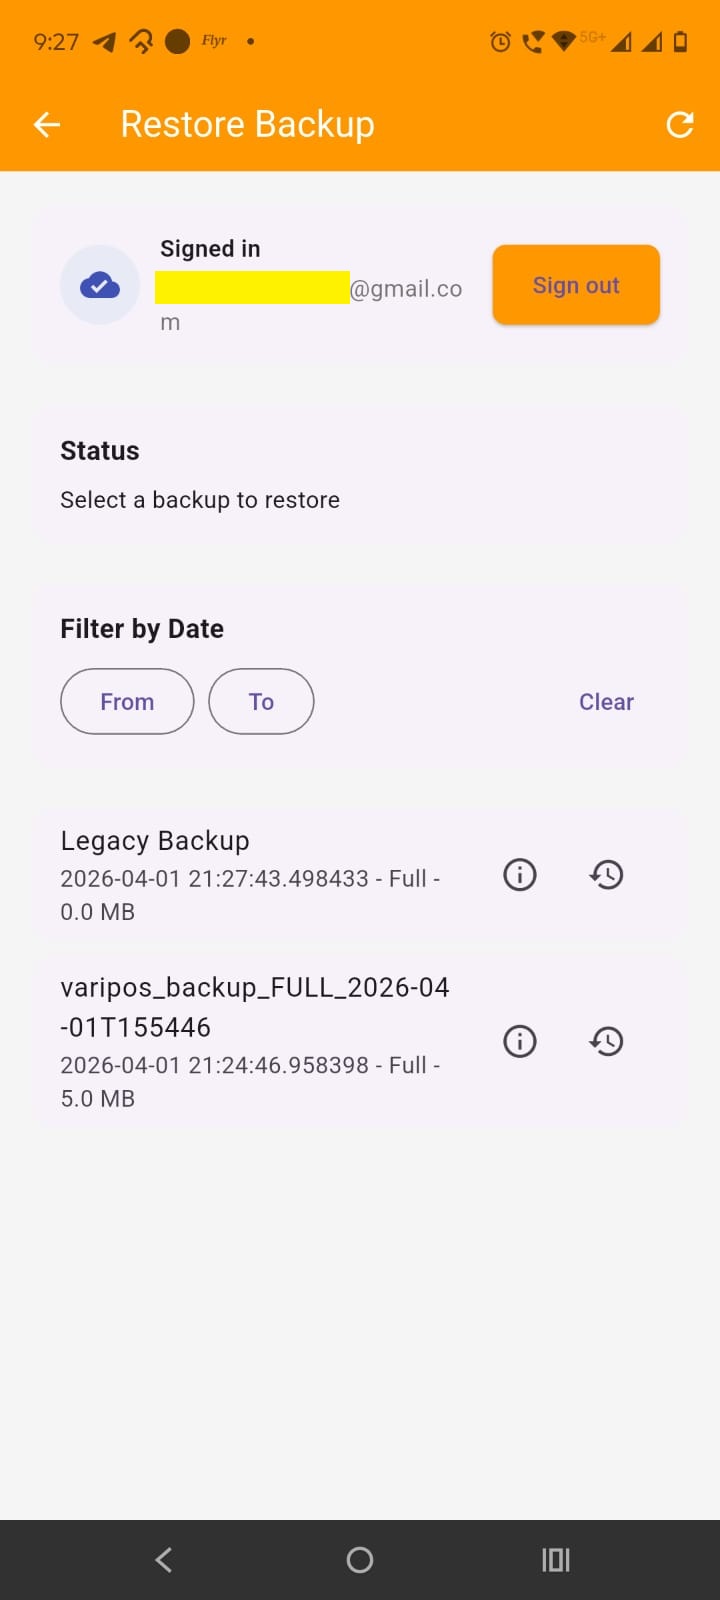
Each row shows:
Open backup details: Tap the info icon on a backup row.
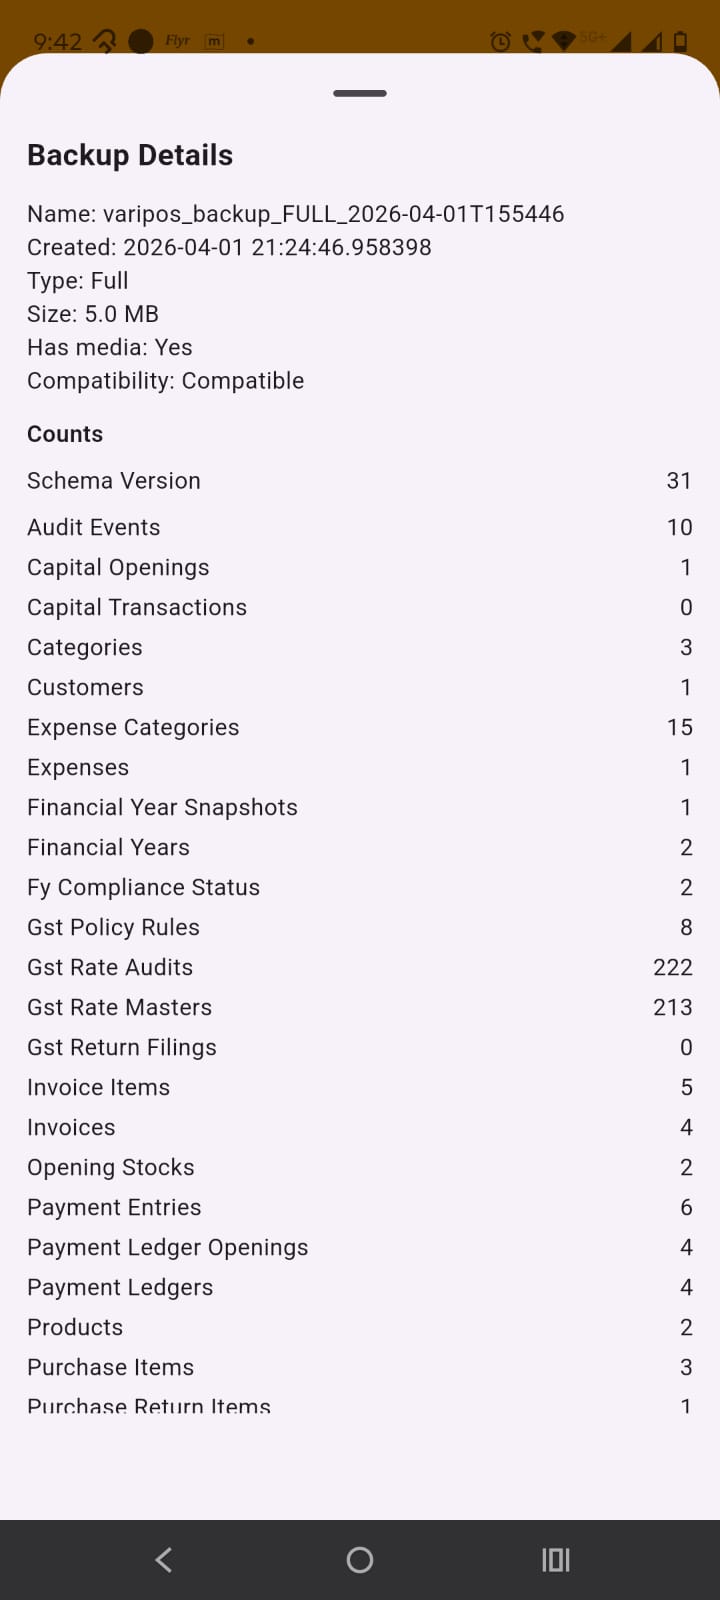
Review backup details: The details bottom sheet shows:
If manifest data is available, it also shows:
Use details before restoring: This helps you confirm whether the selected backup is the correct one before replacing current data.
In the backup list, tap the restore icon for the backup you want to apply.

Check compatibility: Before restore, the app checks the backup manifest. If the backup schema version is newer than the current app schema version, restore is blocked and the app shows:
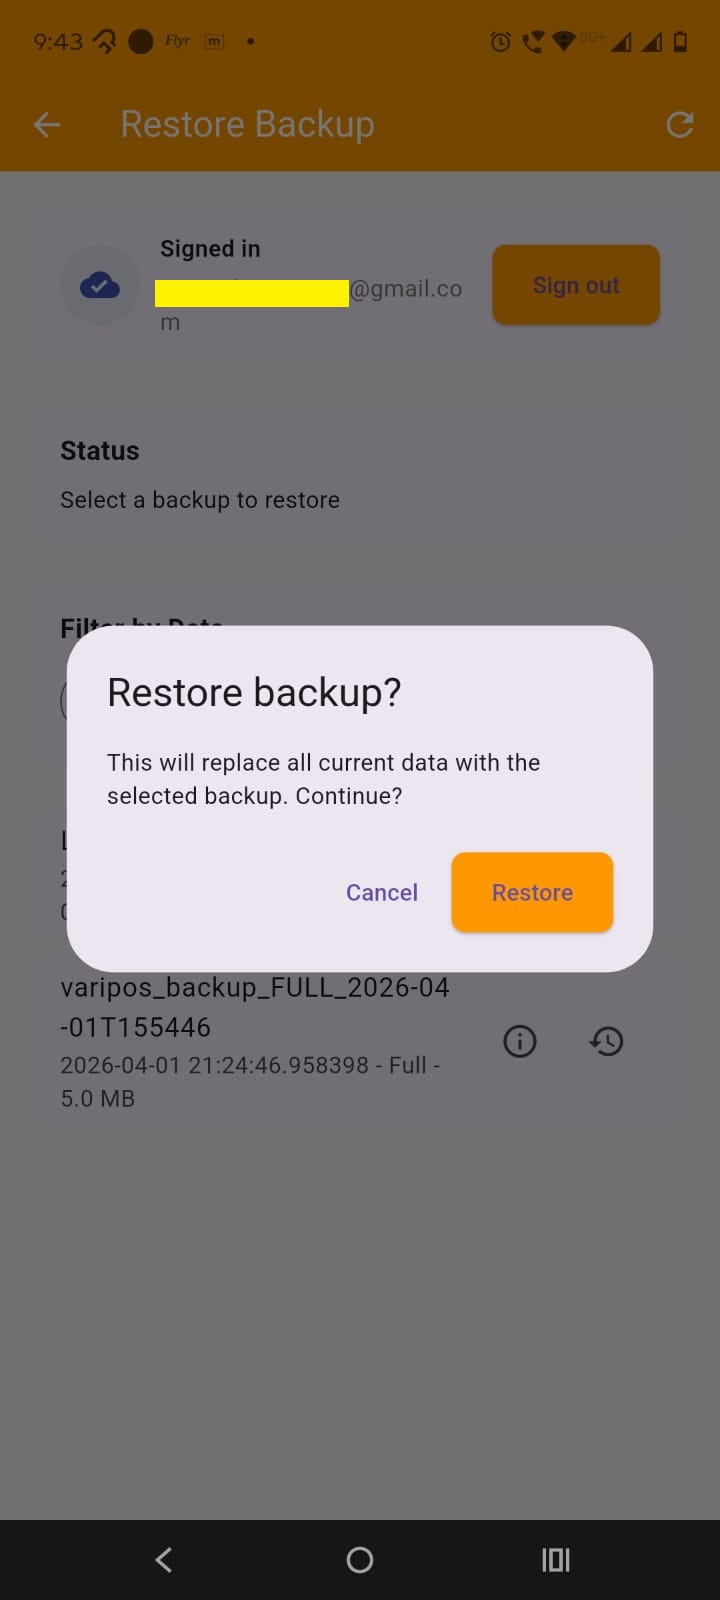
Read the restore warning: If the backup is compatible, the app asks for confirmation and clearly states that current data will be replaced.
Confirm restore: Tap Restore to continue.
Watch restore progress: During restore, the app may show steps such as:
Understand what restore does: The restore process replaces the current database with the backup database. If the backup contains media, the app also restores media files and rewrites saved image paths for:

If the device is lost, reset, or damaged, install the app again and sign in with the same Google account.
Open Restore Go to Settings > Restore.
Select the required backup: Use the backup list and details sheet to identify the correct backup.
Restore the backup: Tap restore and confirm. The app downloads the backup from Google Drive and applies it on the new device.
Use Full backup for best recovery: If you want both business data and images back, restore a Full backup. If the backup was DB Only, database records return but media files are not restored.
Know the app’s protection rule: If the backup was created by a newer app schema version, restore is blocked until the app is updated. This protects the database from incompatible restore.
Current backup and restore are based on Google Drive, not manual local export from this screen.
Full backup is better for recovery: Use Full backup if you want a proper disaster recovery copy including images and visual assets.
Restore replaces current data: Restore is not a merge. It replaces the current database with the selected backup.
Keep auto backup enabled: If this app is used for real business, daily automatic backup on app open is the safer setup.