VariPOS Documentation
Read module-by-module like an operations story. Every scene tells what to do, what to check, and what outcome to expect.
Read module-by-module like an operations story. Every scene tells what to do, what to check, and what outcome to expect.
Execute sales returns with policy-aware correction eligibility and audit-safe behavior.
By tapping on the Sales Return on the dashboard or Sale Return Entry menu item, the Sales Returns (i.e. credit notes) screen opens up.
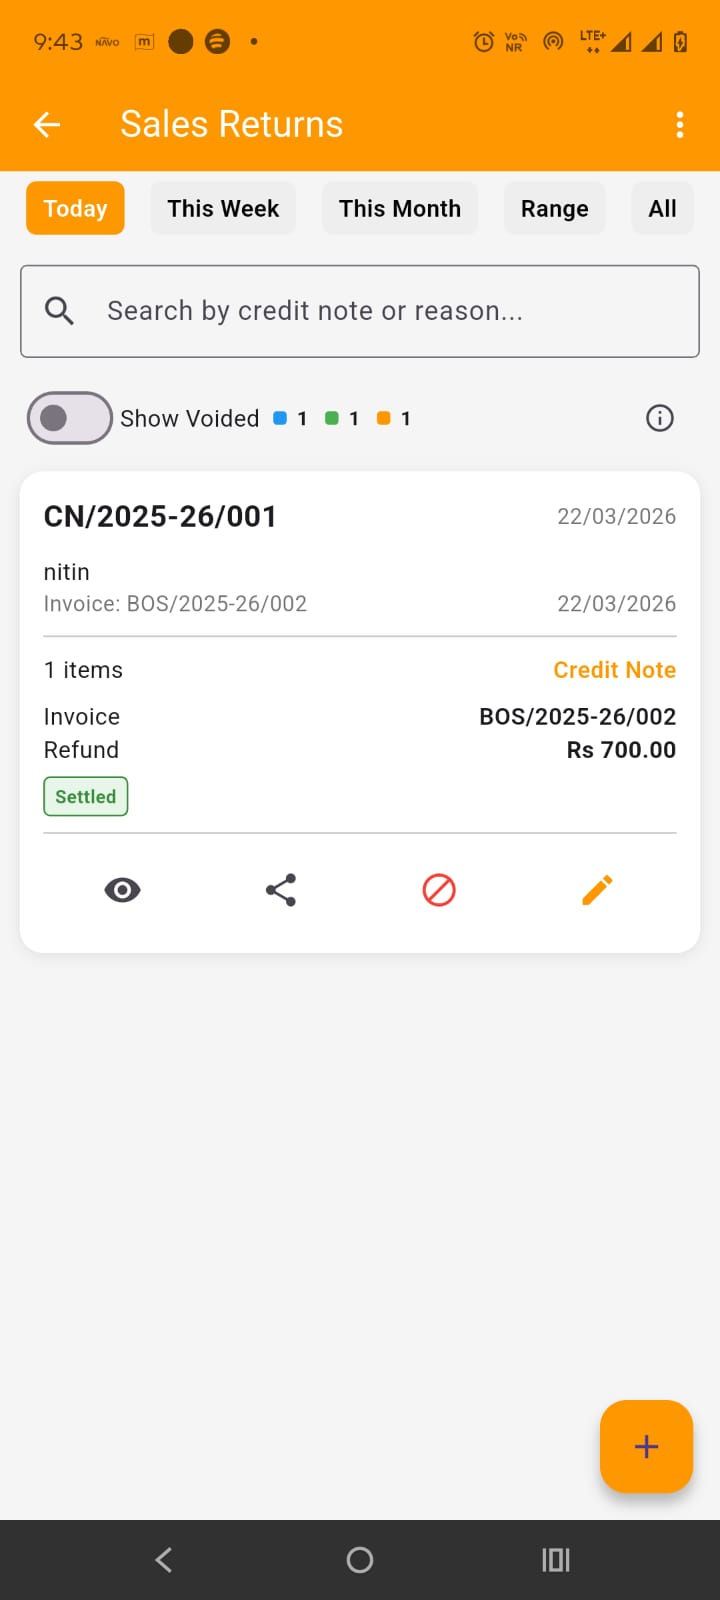
Here, on this screen, you have the list of all credit notes (i.e. sales returns) that you created. By default, only today's credit notes (i.e. sales returns) are shown but you can filter them by This week, this month, date range or view them all. At the top in the app bar, by tapping the three dots at the right side, you get the options to Download Excel, Share Pdf or print preview the list of credit notes shown in the screen (with the filters applied).
Below date filters, you have the search field which can be used to search credit notes by supplier name, credit note number, amount etc. Below that you get the option to show/hide cancelled returns. Below that you also have the returns count stats.
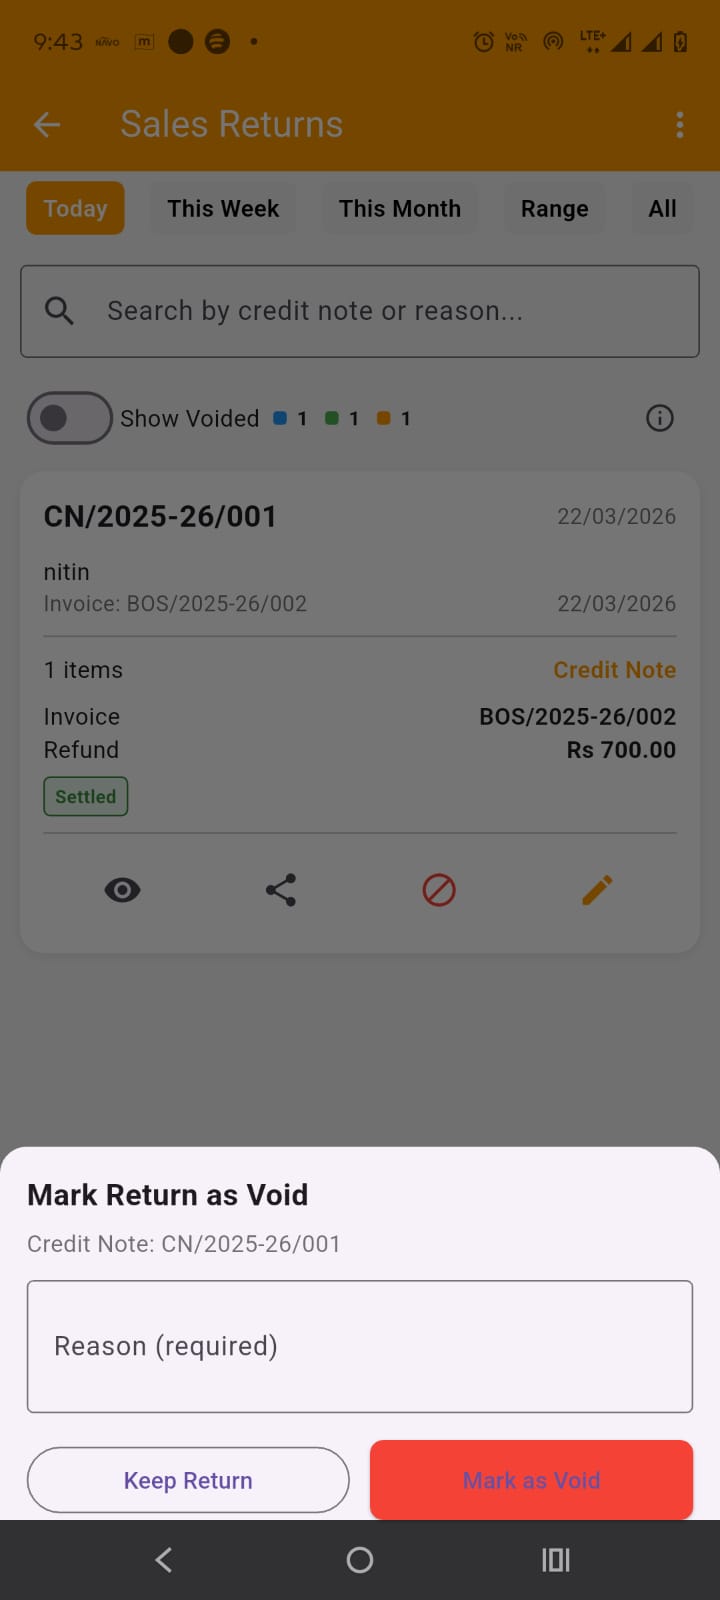
In the Sales return card, important details of the credite notes are shown. At the bottom of each card, you get the options to view return details, share credit note, edit the credit noteand Mark the return as void. Please do note that once a credit note is created it can not be ammended, when you edit a credit note, you are actually cancelling the old one and creating a new one. When you mark a credit note as void, you have to provide the reason for it as shown in the image
By tapping on the + (plus) FAB button at the bottom of the sales returns screen, Select Invoice for Return screen is opened up. The edit procedure is same as create sales return.
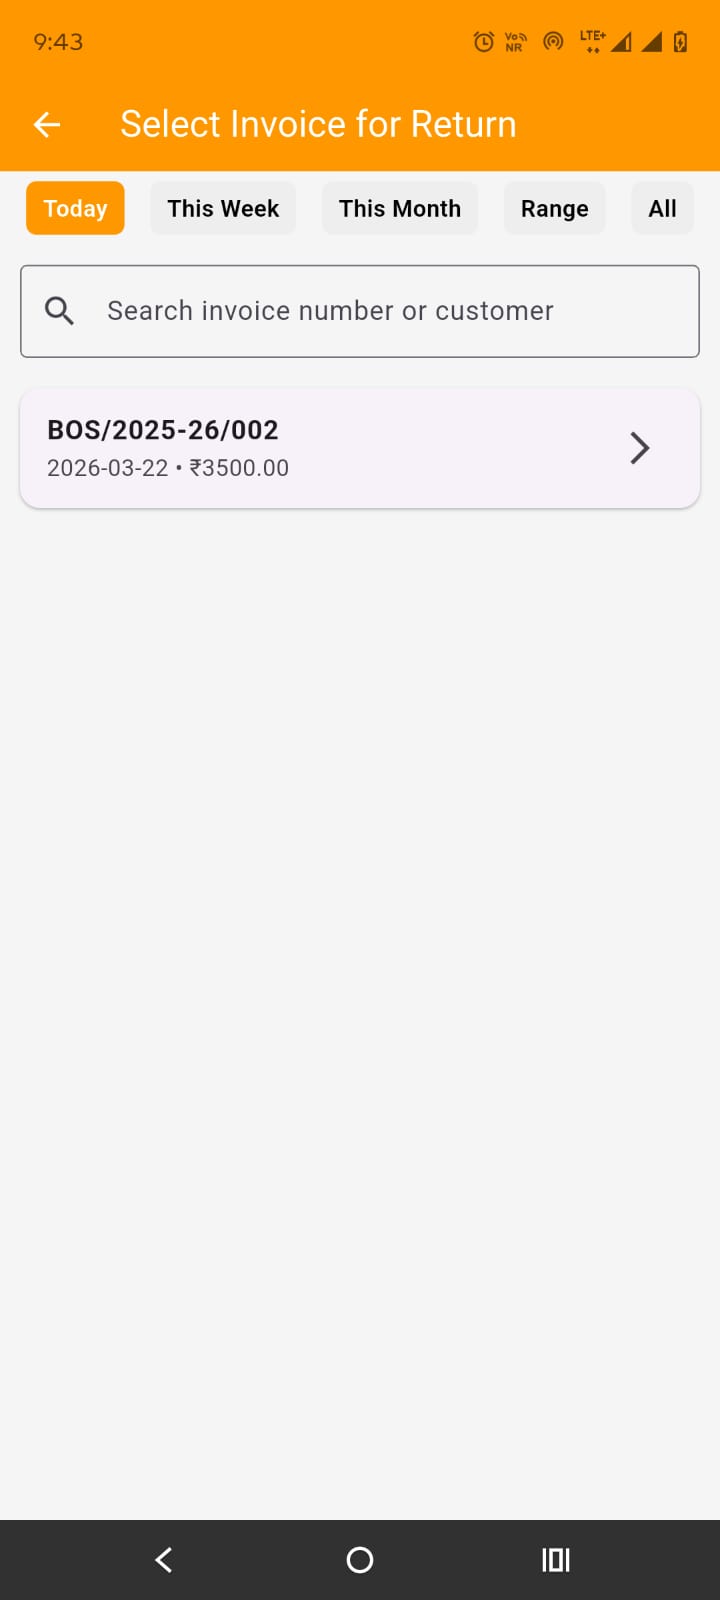
On Select Invoice for Return screen, select the invoice to create a return against. By default only today's invoices are displayed. Hence use the filters accordingly. On selecting the invoice, Select items to return screen is opened up. There you can select the item and qty to return and press continue.
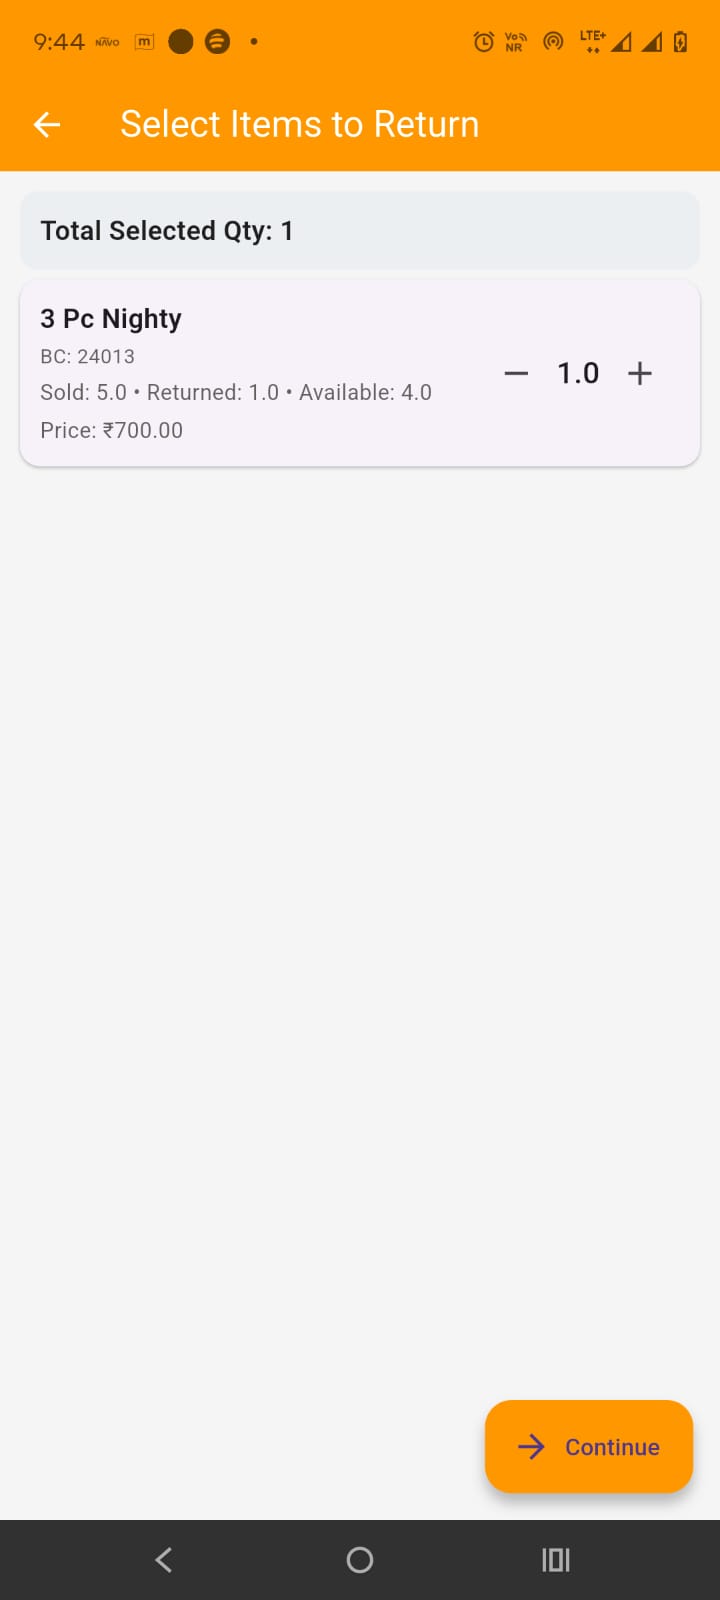
On tapping continue button, opens up Confirm Return screen. Here you can edit the credit note number (mostly not required to edit). Select Return Date and time. Below this all return details and pricing break down is shown.
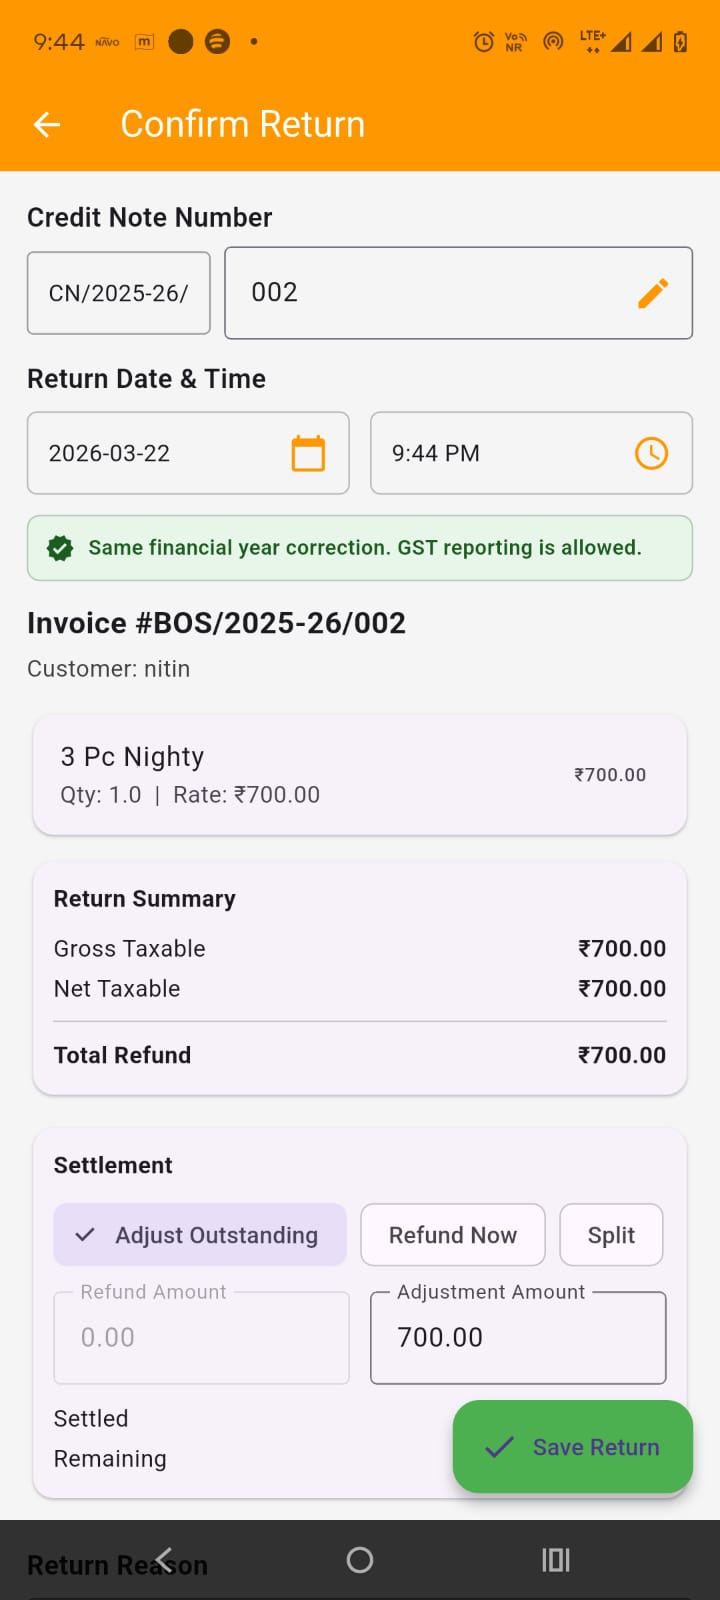
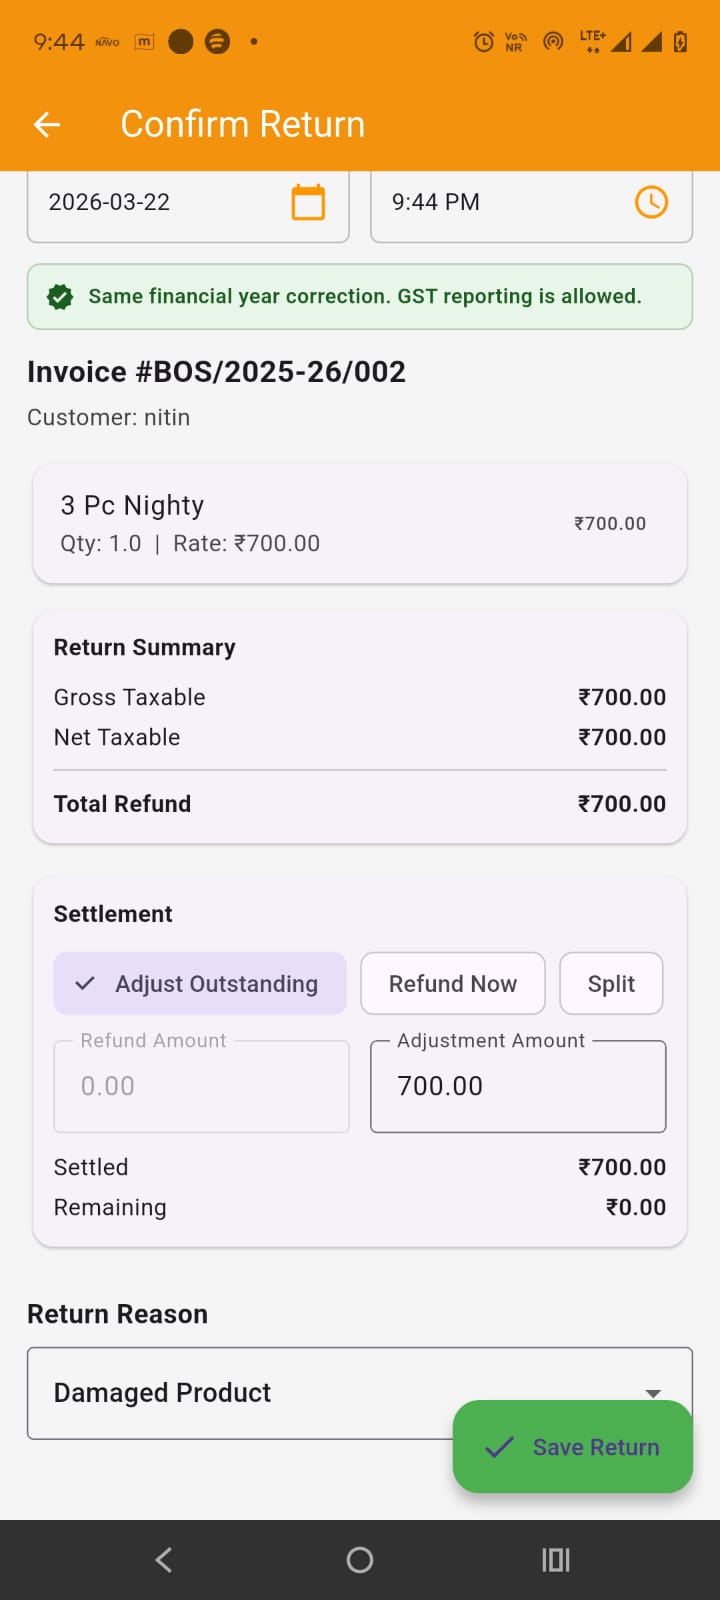
In settlement section, you can either adjust the refundable amount against outstanding or fully refund (Refund Now) or split it (partial adjustment and rest refun). Enter refund/adjustment amount.
Select the return reason and press save. The return (credit note is created)
By tapping on the sales return (credit note) card in the Sales Returns screen, opens up the sales return details screen.
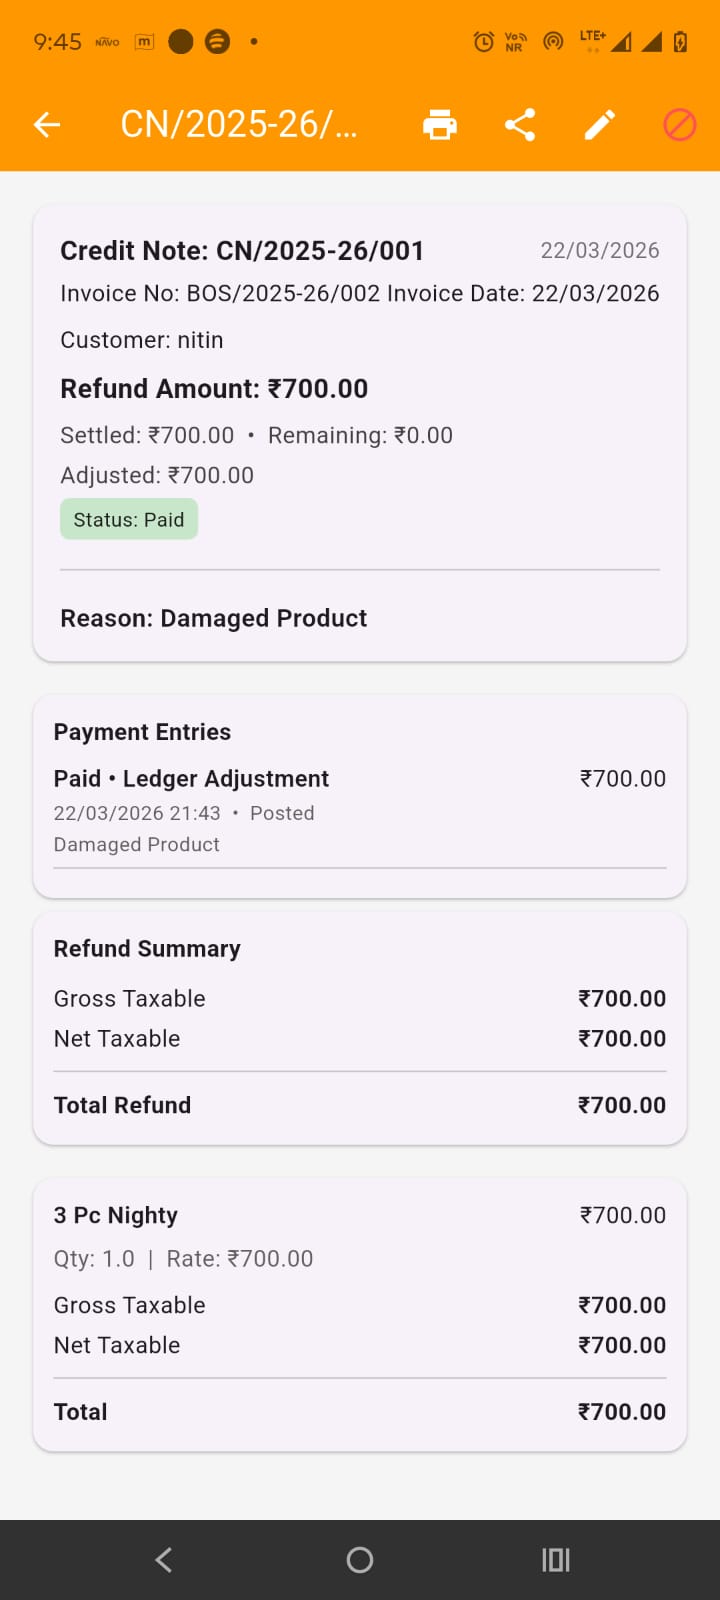
Here you can view all the credit note details, items pricing breakdown, totals breakdown..
In the app bar you get the options to print the credit note and share the pdf of the invoice as shown in the images.
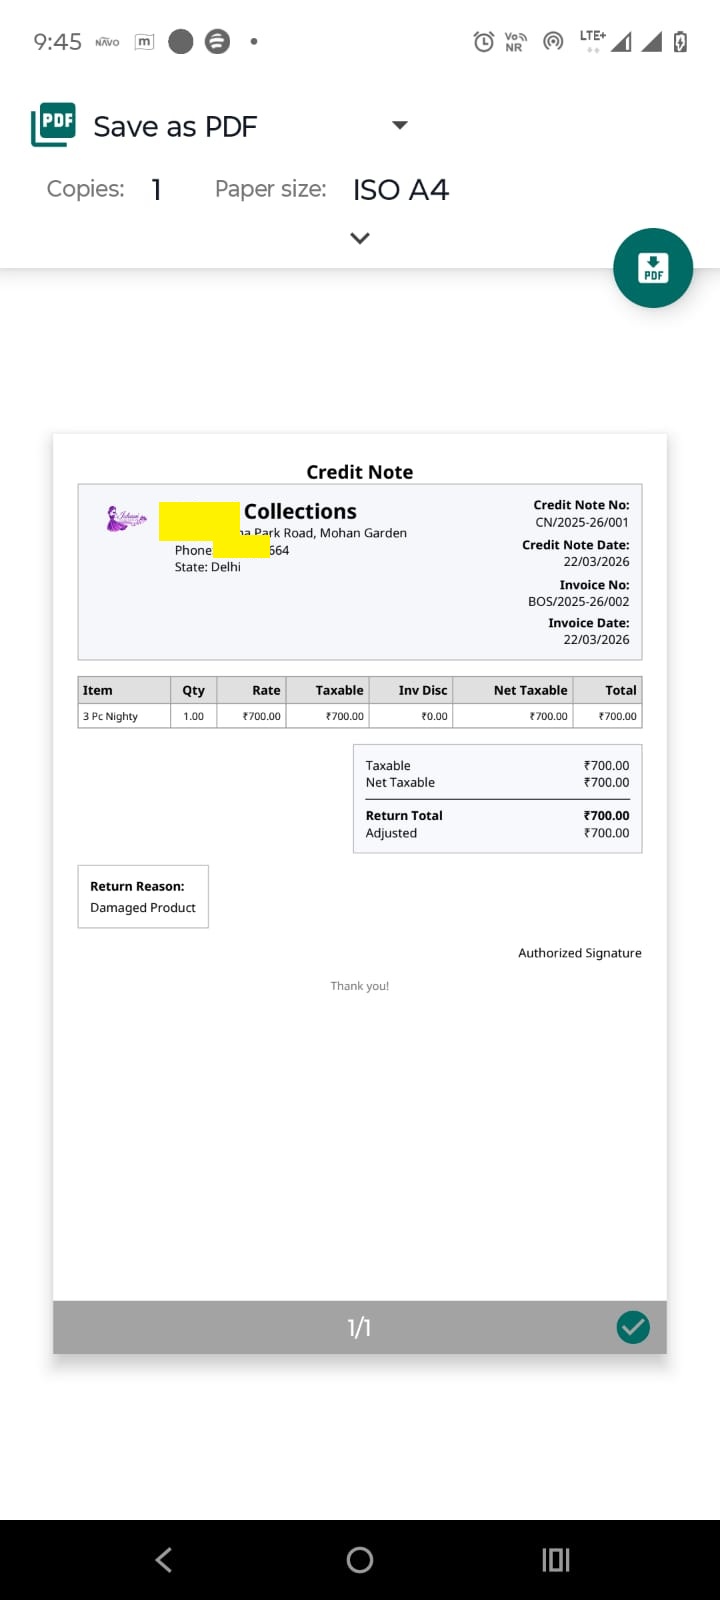
You also get the option to edit the invoice (please do note the editing will mark current as void and create new credit nore if updated). You also get the option to mark the return as void.