VariPOS Documentation
Read module-by-module like an operations story. Every scene tells what to do, what to check, and what outcome to expect.
Read module-by-module like an operations story. Every scene tells what to do, what to check, and what outcome to expect.
Create customer and supplier records to generate and keep invoices and purchase records and track payment dues and for ready reference
Use the customers menu item to open the customers screen. Here you get the list of all the customers that you have added and transacted with.
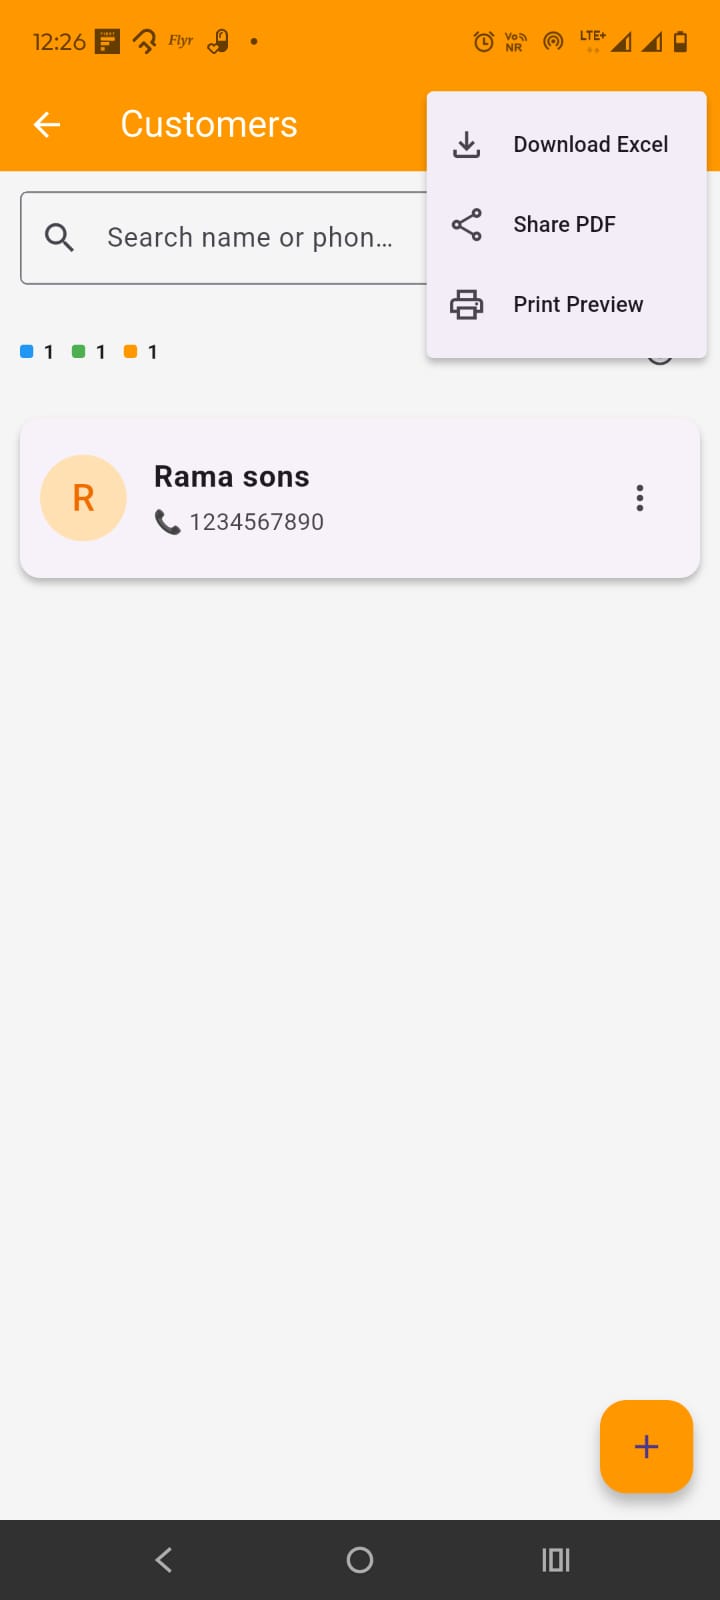
On customers screen, you have the list of customers. At the right side of app bar , you have three dots which can be used to Download list of customers as excel, share a pdf and print the list of customers.
Below this you have the search bar to search customers and sorting drop down.
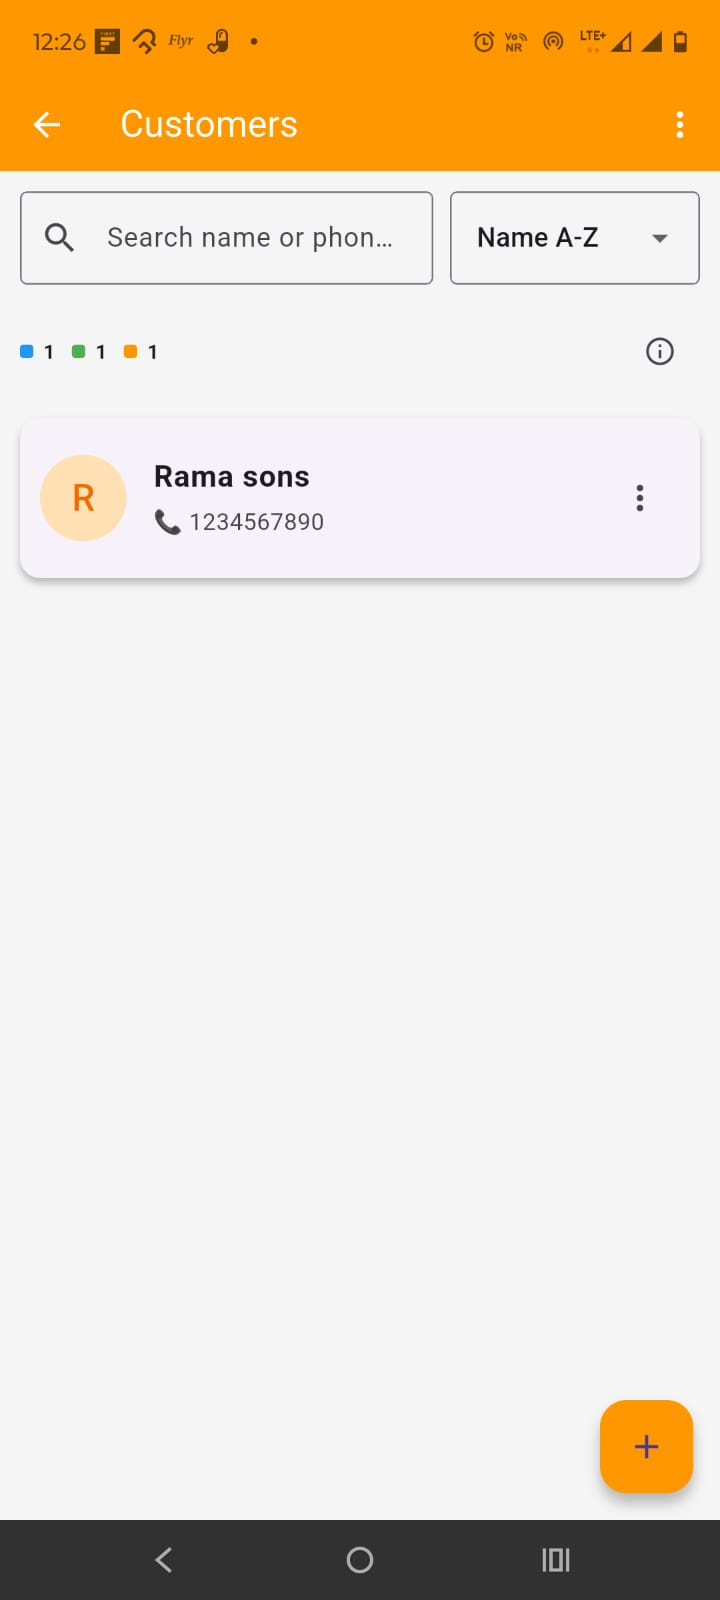
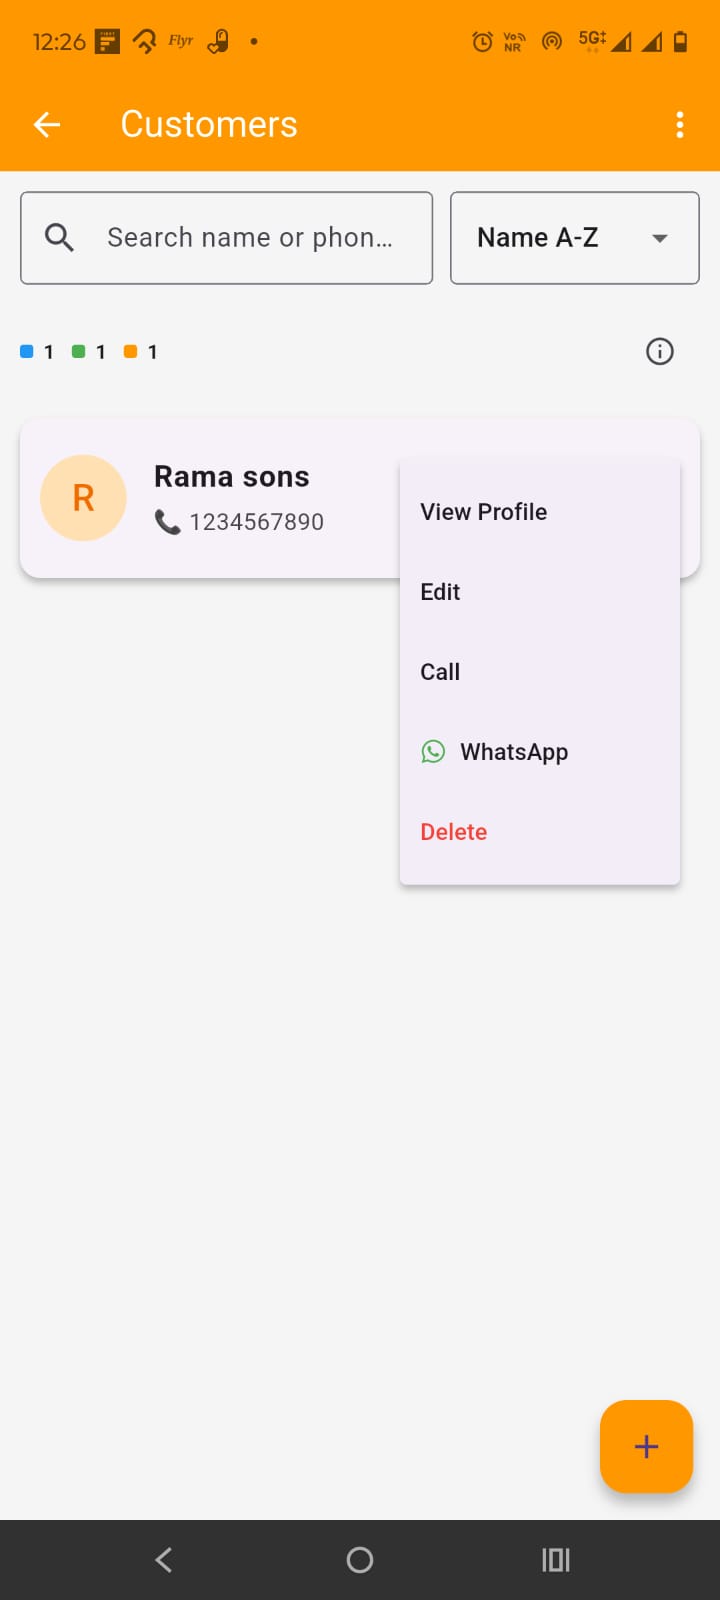
Below this, you have the list of card of customers. on tapping the card, opens up the customer profile screen. The three dots at the right of the card opens up the menu which lets you view profile, edit, call, open whatsapp chat for the customer and delete the customer(if applicable). At the bottom right of the screen, you have + (plus) FAB button which opens up the add customer screen
You can open the add or edit customer screen by tapping on the edit option in customer card or tapping the add customer FAB button (+ plus).
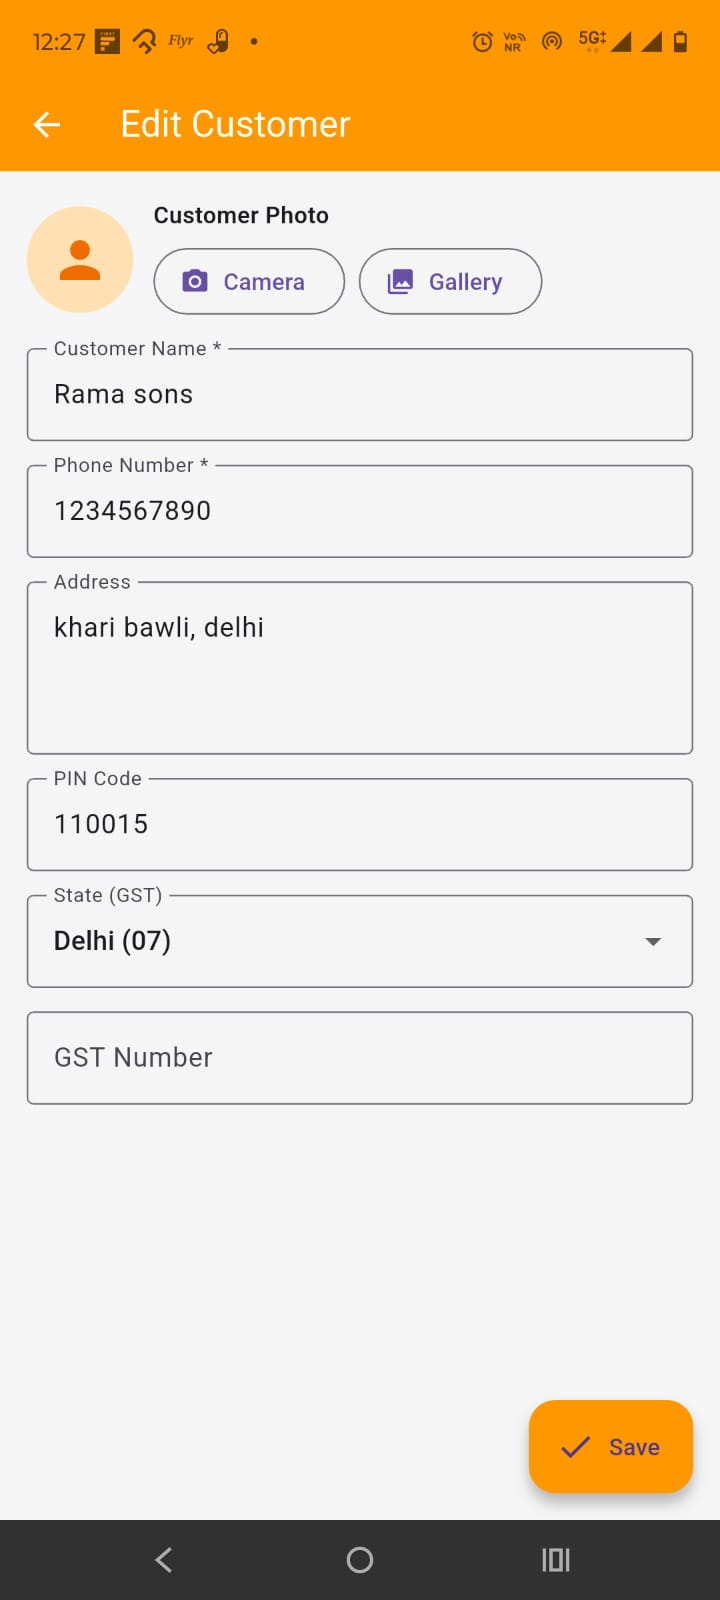
On the add or edit customer screen, you can add/edit the customer details. you can add/edit following details:
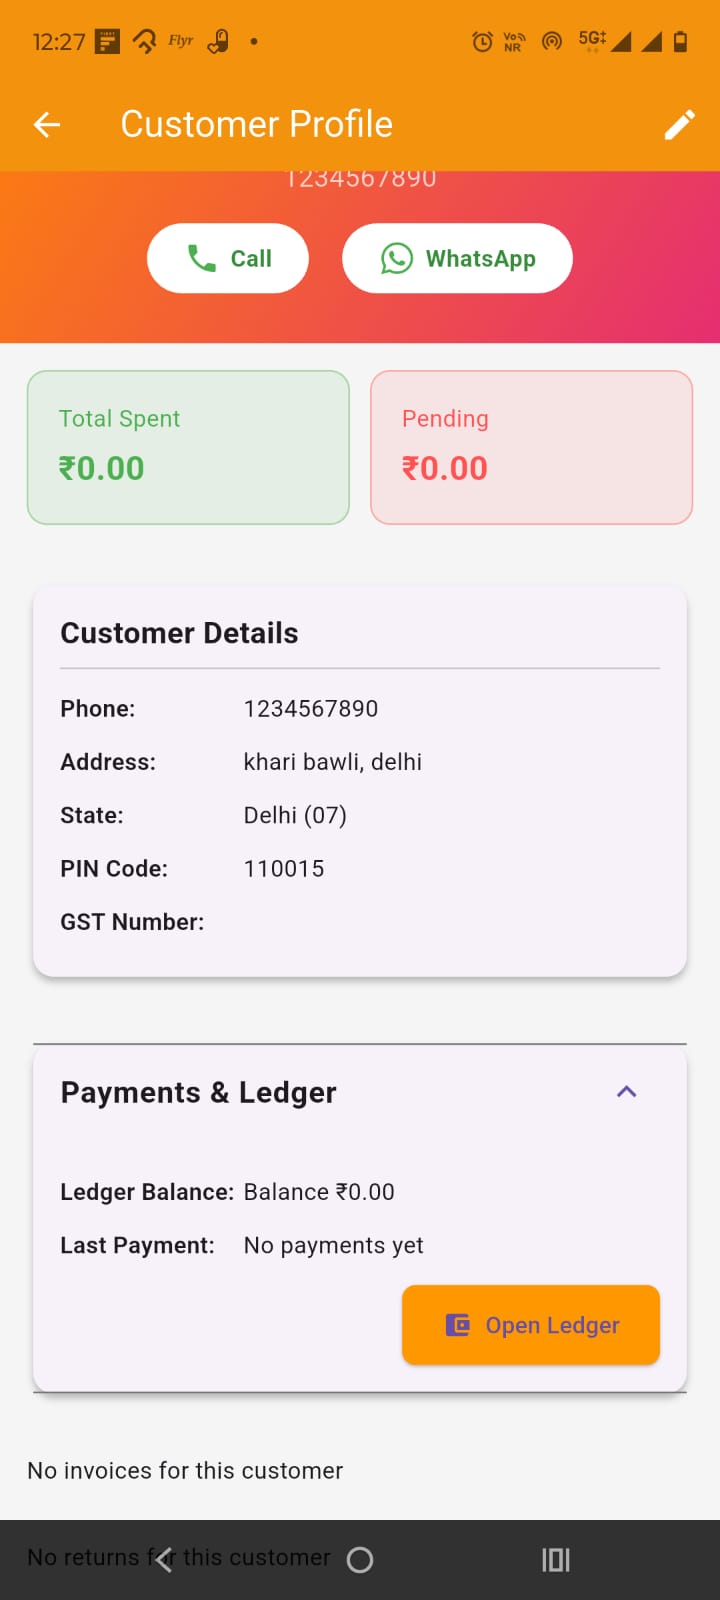
By tapping on the customer card in the customers screen, customer profile is opened up.
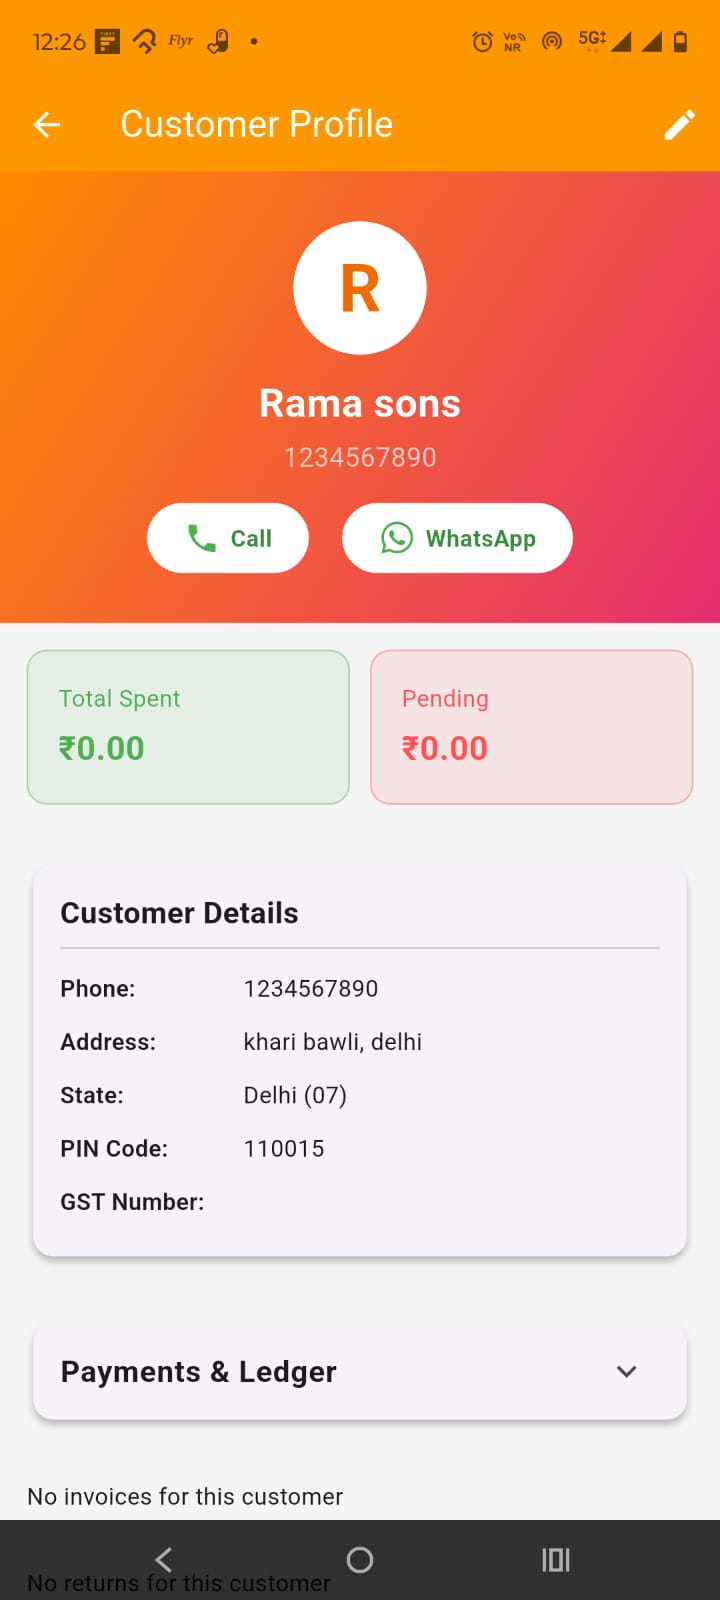
Here you can view customer details. In the app bar, you get the option to edit the customer details. you can call the customer or chat with him on the whatsapp. you can also check the amount spent or pending to collect from the customer.
Under payments and ledger card, you can open the customer ledger. At the bottom, you can view all the transactions of the customer.
By tapping on the suppliers menu item, opens up the suppliers screen.

Here you get the list of all the suppliers. In the app bar you get the options to download as excel, pdf and print the list of suppliers. Below this, you can search the suppliers. In supplier card, you get the option to edit and delete the supplier. By tapping on the supplier card, opens up the supplier profile screen.
At the bottom, you get the + (Plus) FAB button which opens up the add supplier screen
By tapping on add supplier (+) FAB button or edit option, opens up the add/Edit screen.
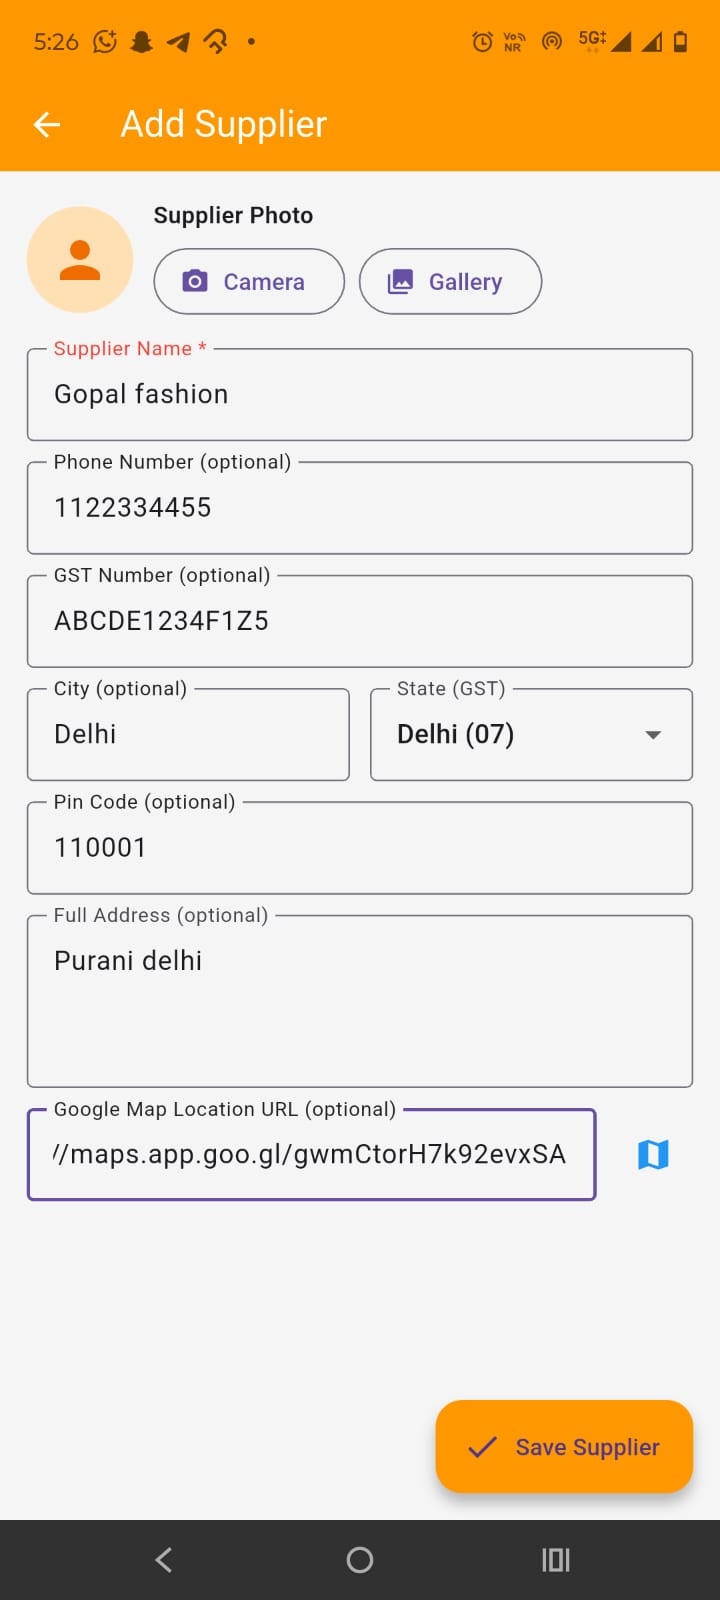
Here you can add or update the supplier details:
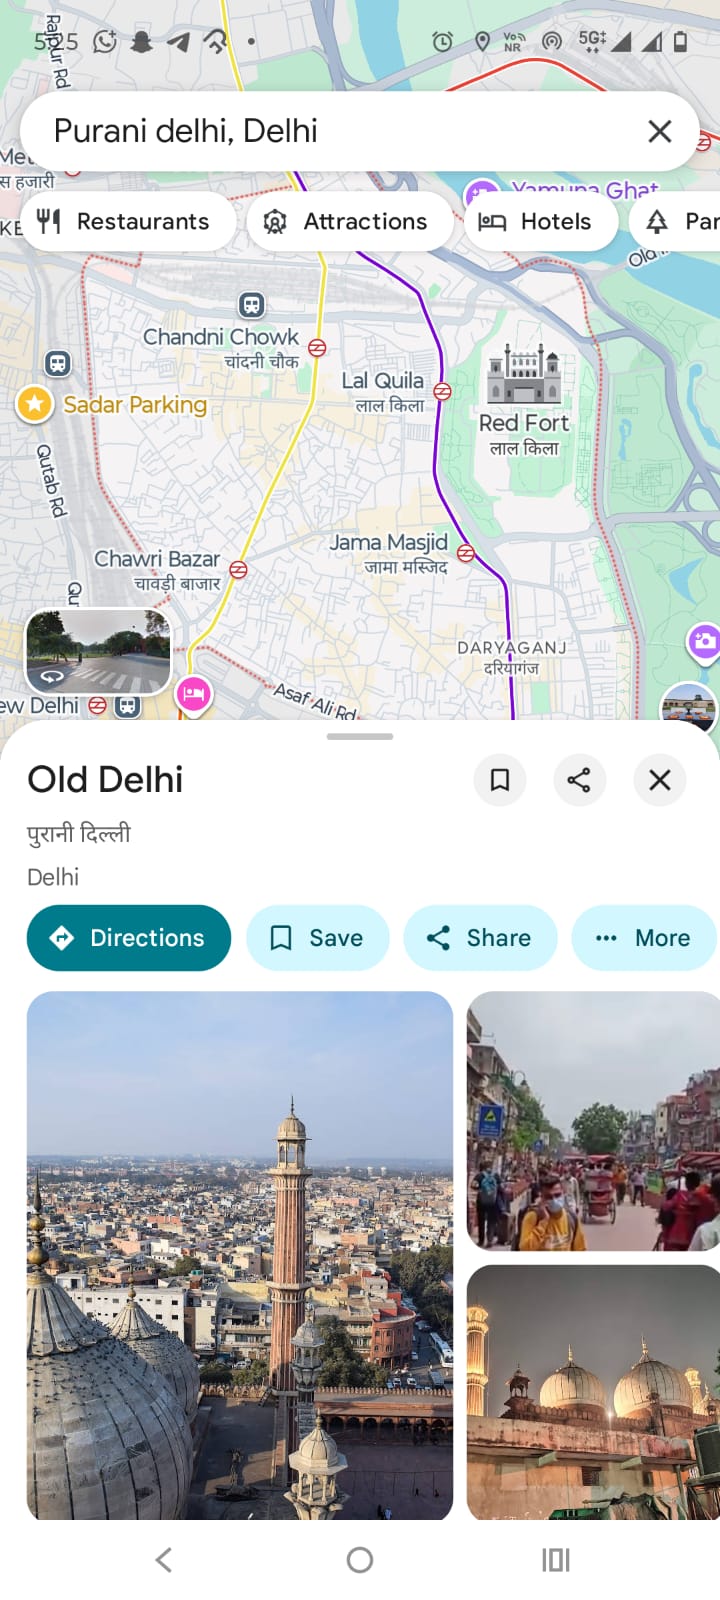
If you are facing the difficulty in setting the google location, tap on the icon on the right side of the Google map location URL field, it will open up the google map. In google map, search the location and tap and hold at the location, tap on share and copy the url and on coming back to the app, paste it in the url field.
By tapping on the supplier card in the suppliers screen, opens up the supplier profile screen
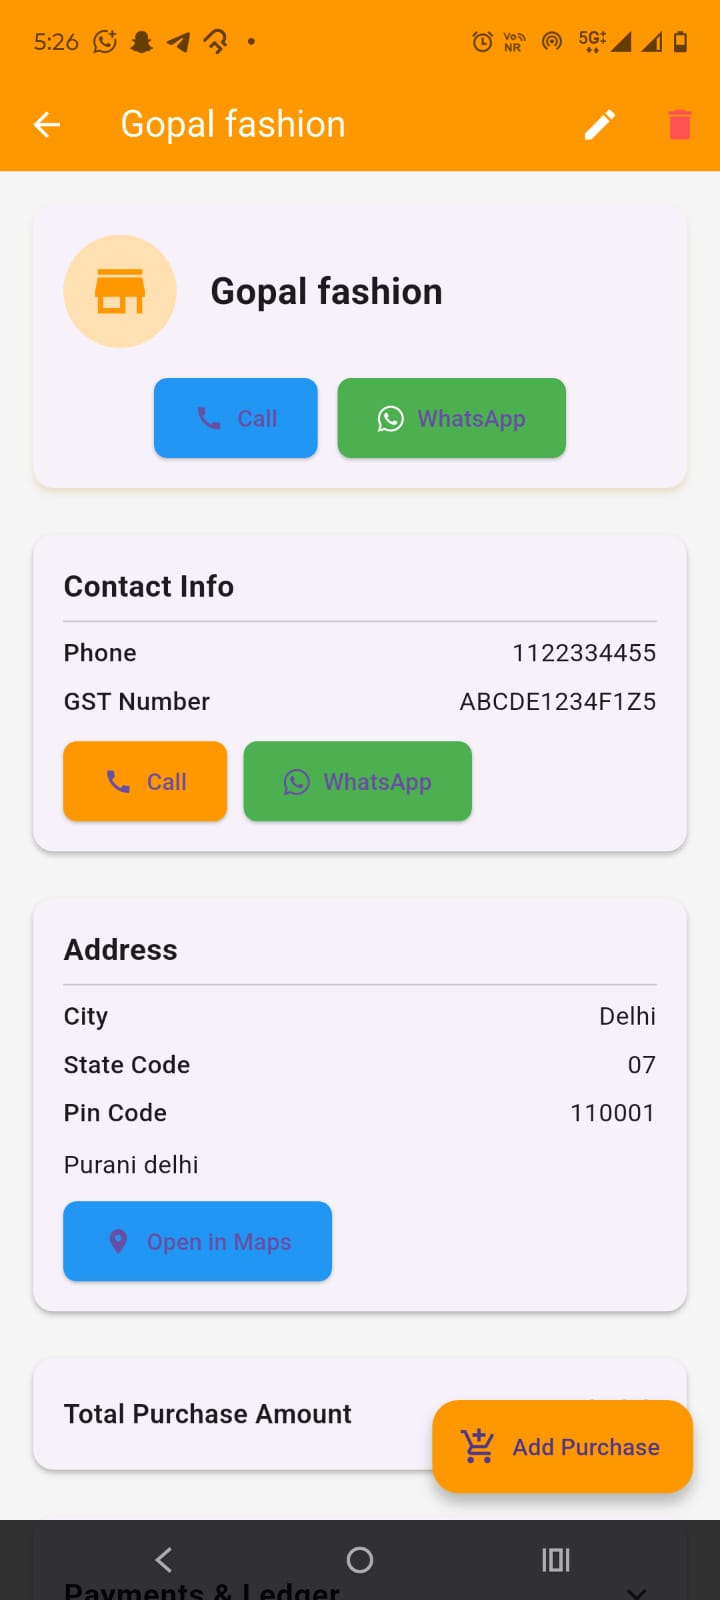
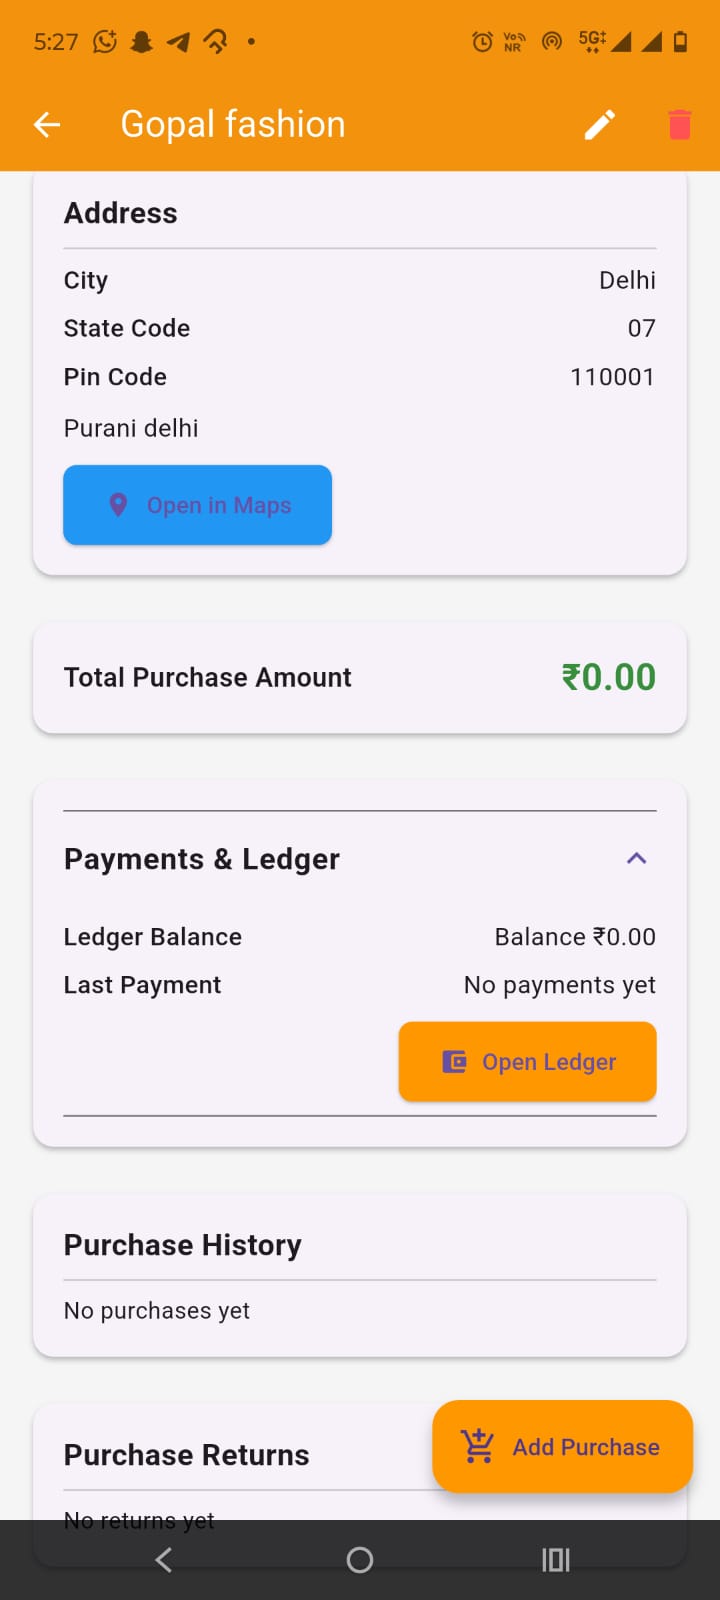
You can view the supplier details here. In the app bar, you get the options to edit and delete the supplier. Below this, you can view supplier profile iamge and you get the option to call or chat in whatsapp with him. By tapping on the Open in Maps, you can open supplier's location in google map and find directions.
You can also open the supplier ledger and view purchases from it and purchase returns made to it. At the bottom, you get the Add purchase FAB button to create purchase transaction from the supplier